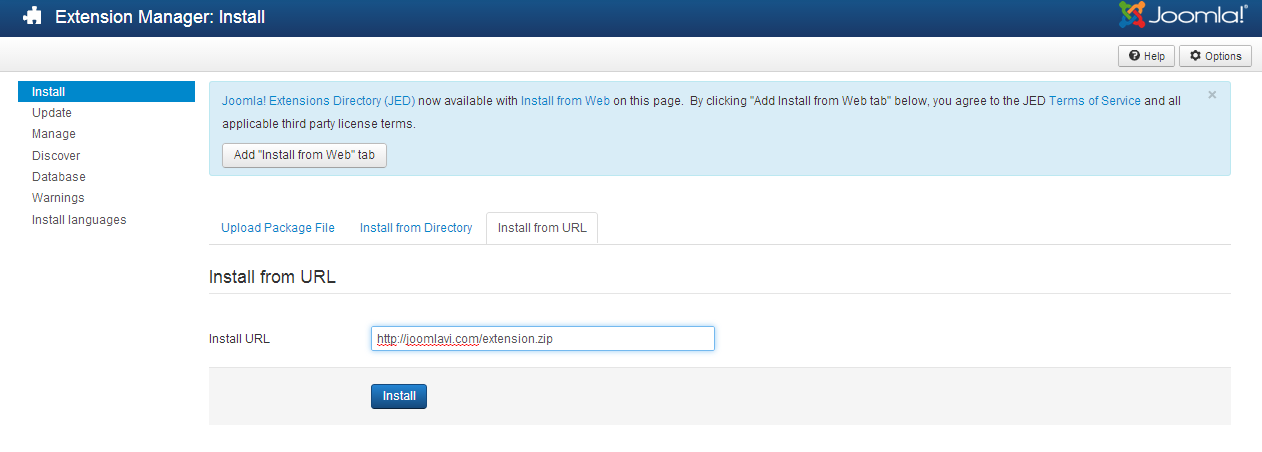
Access the Joomla Extension Manager
The first thing you need to do is login to back-end area of your Joomla website, access the Joomla Extension Manager by going to Extensions >> Extension Manager.

Once you had the Extension Manager, there are three options to choose from to install your extension. Let's go through these alternatives
Upload Package File
This is the first and also the most common option that most people go to. All you need to do is click Choose File button, browse your extension zip file, then press Upload & Install button.

Some Joomla extensions have additional information in their archive package like changelog, various versions, documentation, image resources, etc. To get the extension installed properly, these packages need to be extracted first to get the real installation package. Most of the case, such packages are named unzip_first.zip or similar. If you encounter error messages stating that "Cannot find Joomla XML setup file", please try extracting the archive package file first.
Install from directory
This option is commonly used for large extensions exceeding PHP maximum upload file size and can't be uploaded via the previous method.
Go to the Extensions Manager and specify the path to that folder.
Click Install button. Joomla will check the specified folder and install the extension.

The important thing is that unlike the first option, you need upload the folder and not the zip archive.
Install from URL
This is the last option for Joomla extensions installation.
Enter the direct address of the zip archive with the extension you want to install and click the Install button. Joomla will automatically download, extract and make the necessary installations for you.

If the installation was successful you will be presented with the dialogue in a green bar:

