
Downloading JV Quickstart Package
The first step is to download the JV QuickStart itself. The packages are contained within the download section on the joomlavi website where you find the templates and extensions. Each JV QuickStart package is situated within the corresponding template, for instance, the JV Shopper QuickStart pack is located in the JV Shopper Download Section.
Extract JV Quickstart Package
After finishing downloading JV Quickstart Package, you need to extract the archive locally. A wide range of tools can do this such as 7-Zip. The process is almost identical with all extractors.
Right click on the JV QuickStart package
Select one of the options for extraction - there are usually different options, but it is easiest to extract the archive to your desktop.
Select Extract
Wait for extraction process to be completed
Upload the extracted JV Quicstart Package
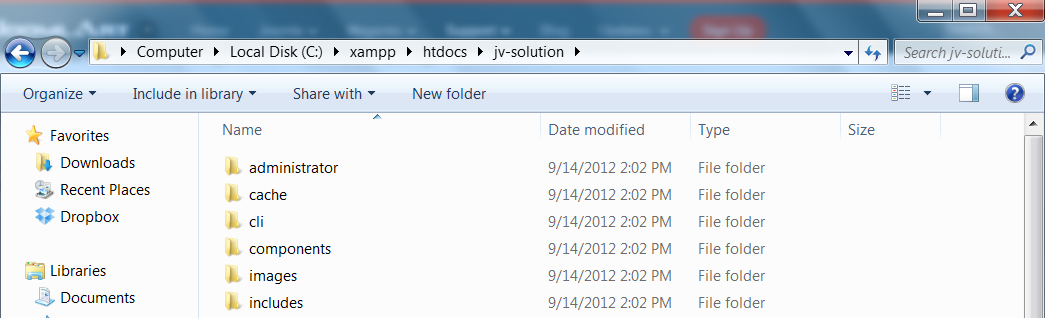
✔ IF INSTALL ON YOUR LOCALHOST: copy the extracted folder to …\xampp\htdocs (If you are using XAMPP) or….\wamp\www (If you are using WAMP)
✔ IF YOU INSTALL ON YOUR HOST SERVER take the following steps to upload files to your host server
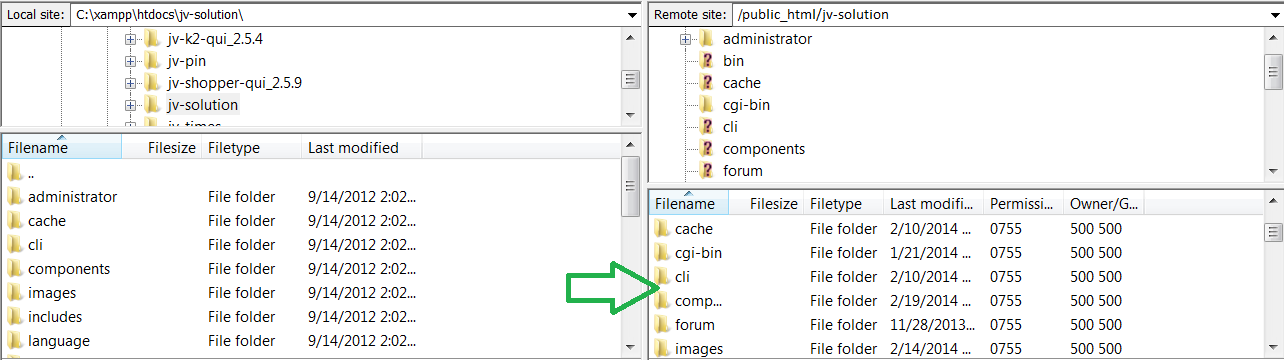
Open the FTP software
Locate the extracted packaged on your computer in the left pane
Open the extracted folder and select the files inside
Drag and drop the selected files into the right pane which is your web server
The speed of transfer varies with hosting server speed and your internet connection speed. It is best to upload the extracted folder to the public_html or in some servers it is called the httpdocs directory
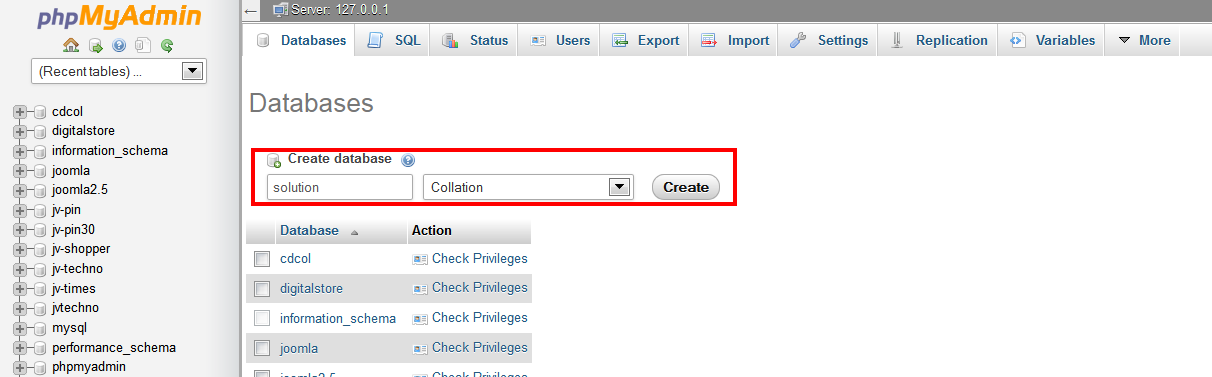
Create Database
While you are uploading the files to your server, it is time to create your MySQL database. The database is where your Joomla! files and images for your site are stored. You need to login to your hosting account cPanel to create your database. Normally you would use phpMyAdmin to create the database. Be sure to save your information from your database because you will need it when you install Joomla!
Joomla 2.5 Quickstart Installation
Once the Joomla! files have finished uploading, we can now run the Joomla! installer to install the JV QuickStart onto your web server.
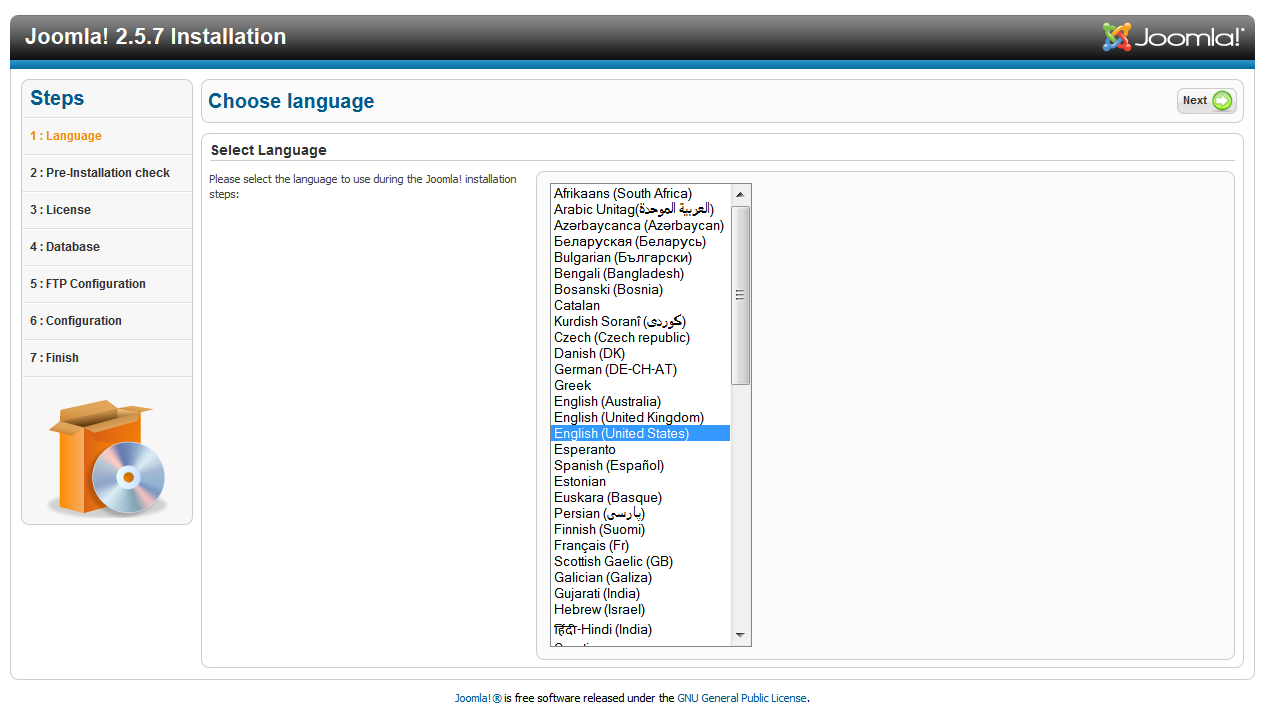
✔ SELECT LANGUAGE
Enter the following link into your web browser, changing the names to reflect your domain name and title of the uploaded JV QuickStart pack.
You will then be presented with the initial language page to JV QuickStart. Read through the documentation and select your default language from the list. Then choose the next button.
✔ PRE-INSTALLATION CHECK
The next step of the installer is the Pre-installation Check page. This is a check list of all the variables to make Joomla! work on your website. You must make sure that all variables are green.

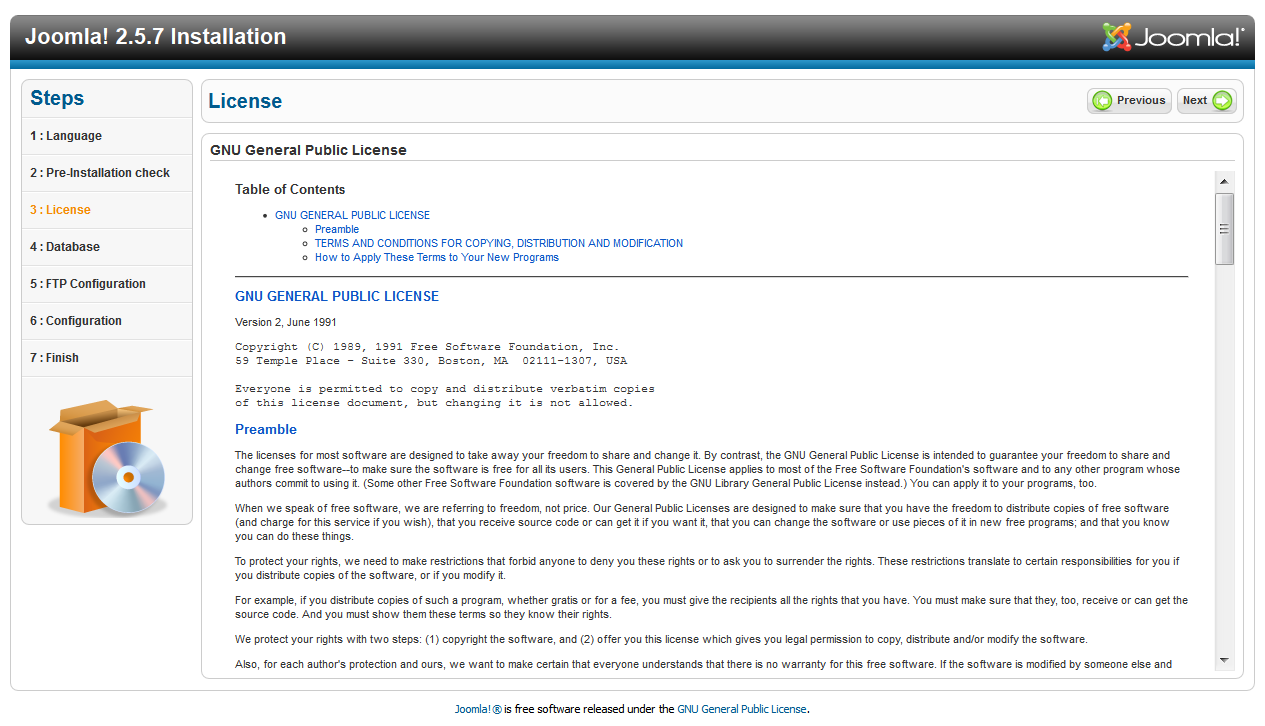
✔ LICENSE
The next page is about the license for Joomla. It is best to read to understanding the GNU GPL license for Joomla.
Once you are finished reading the terms of the license, choose Next
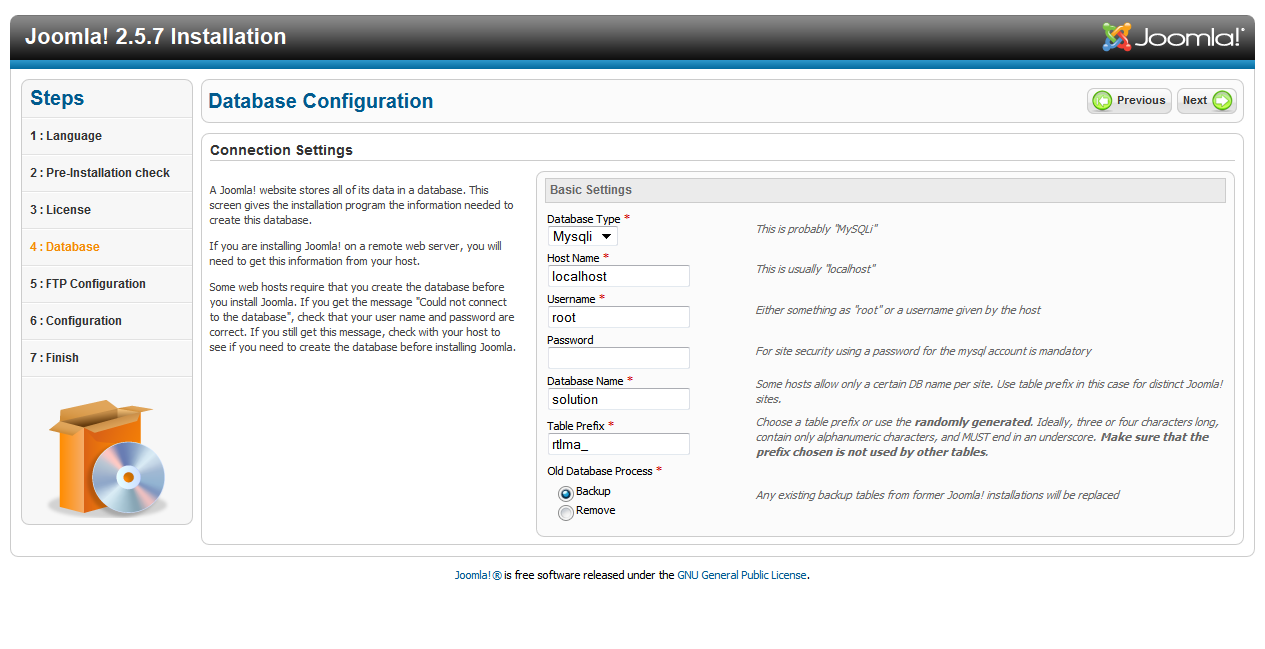
✔ DATABASE INFORMATION
The following page is where you enter your database information for MySQl. You will need to have:
Host address, usually localhost
MySQL username, which you can get from your hosting provider
MySQL password, which you can get from your hosting provider
Database name, which you can get from your hosting provider
MySQL table prefix, if this is your first Joomla site, keep it the same but if you have multiple installs of Joomla, change this.
Once that is complete, select next.
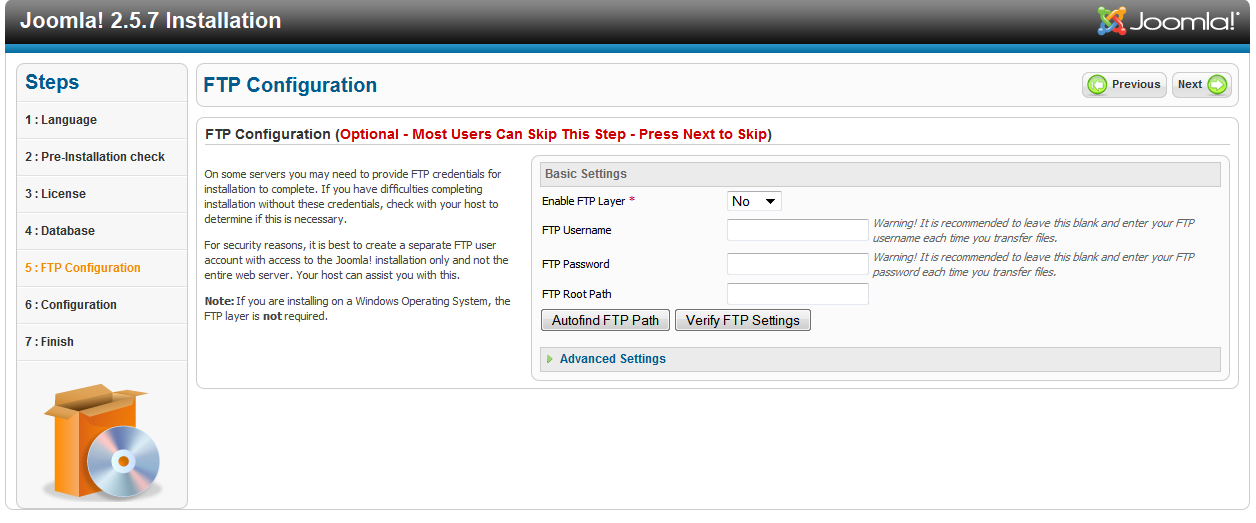
✔ ADMIN SETTINGS
On this page, you can enter your ftp details, although it is not a required step.
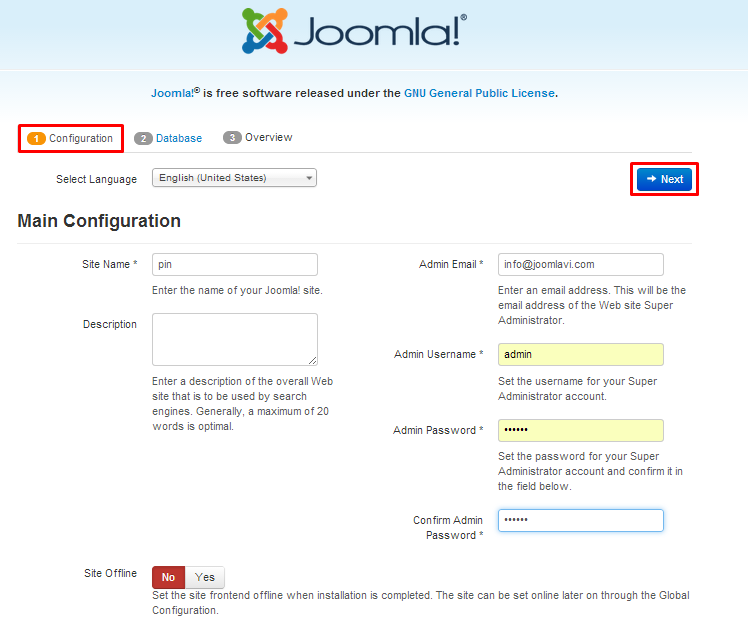
✔ MAIN CONFIGURATION
This is where you enter the title of your site, your admin e-mail and password. Write this information down so you do not forget it. Now, in order to get your new JV QuickStart to look like our demo site, you must click the Install Sample Data button!
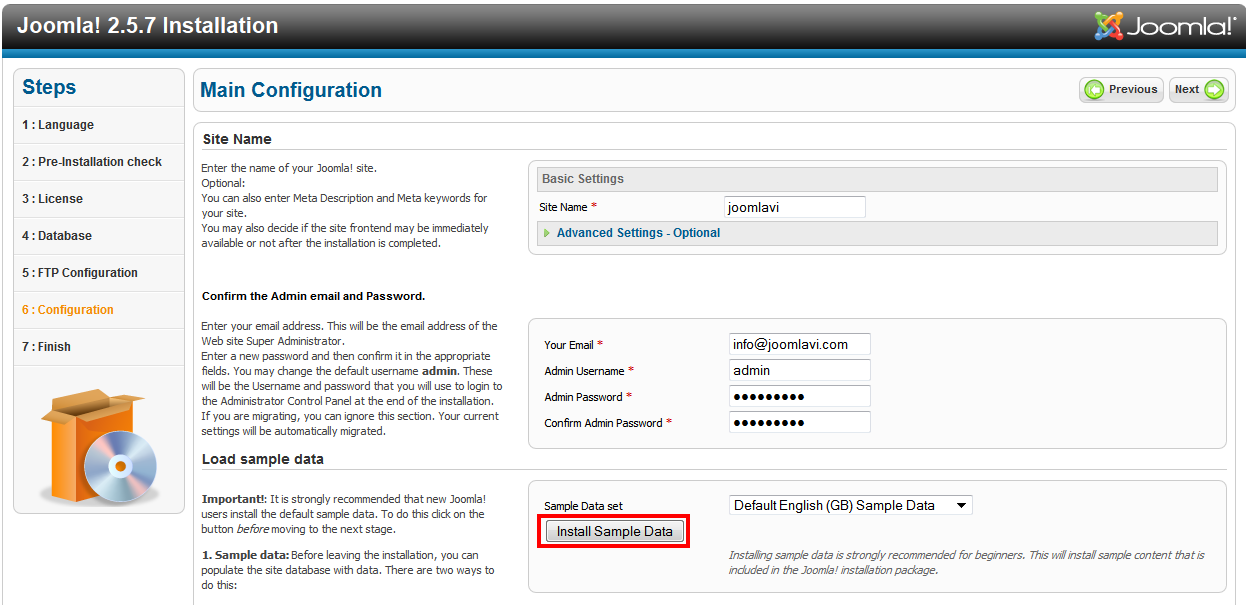
Choose Next
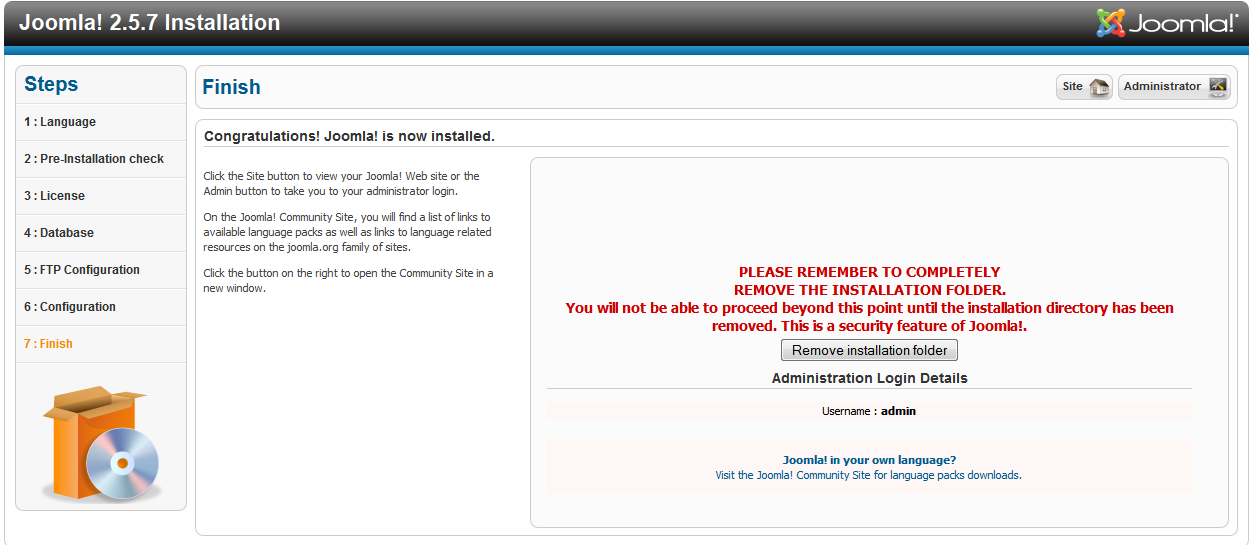
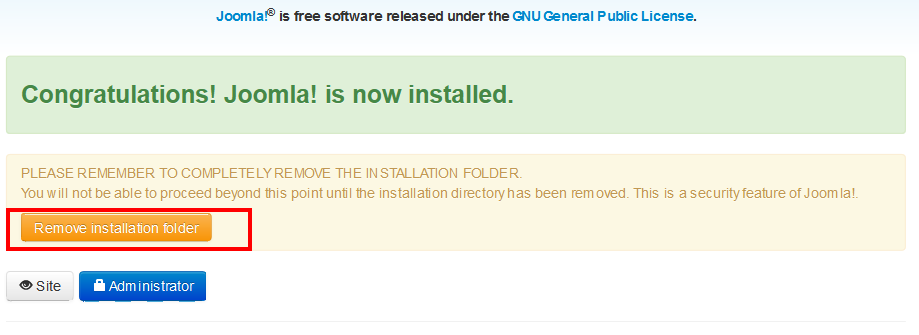
✔ FINISH
Congratulations! Joomla! is now installed. The final step is to use your ftp client and remove the installation folder. Once you do that, you can begin editing your site.
Joomla 3x Quickstart Installation
✔ MAIN CONFIGURATION
Parameter Explanations:
- Select language: select a language for your website
- Site name : enter your website address
- Description: add description for your website
- Admin Email: enter email address of Administrator
- Admin Username : enter username of Administrator
- Admin Password: enter Admin password
- Confirm Admin Password: Retype the admin password for confirmation
Click Next to proceed the Installation process
✔ DATABASE CONFIGURATION

Parameter Explanations:
- Database Type: select MySQL or MySQLi
- HostName: enter your hostname, in the screenshot above, we use localhost. If you install on your hosting, you have to enter your hostname
- Username: enter the username to access your host
- Password: enter password
- Database Name: make sure you enter the database name you created in Step 4
- Table Prefix: enter the table prefix for the database name
- Old Database Process: select Backup or Remove
Click Next to proceed the Installation process
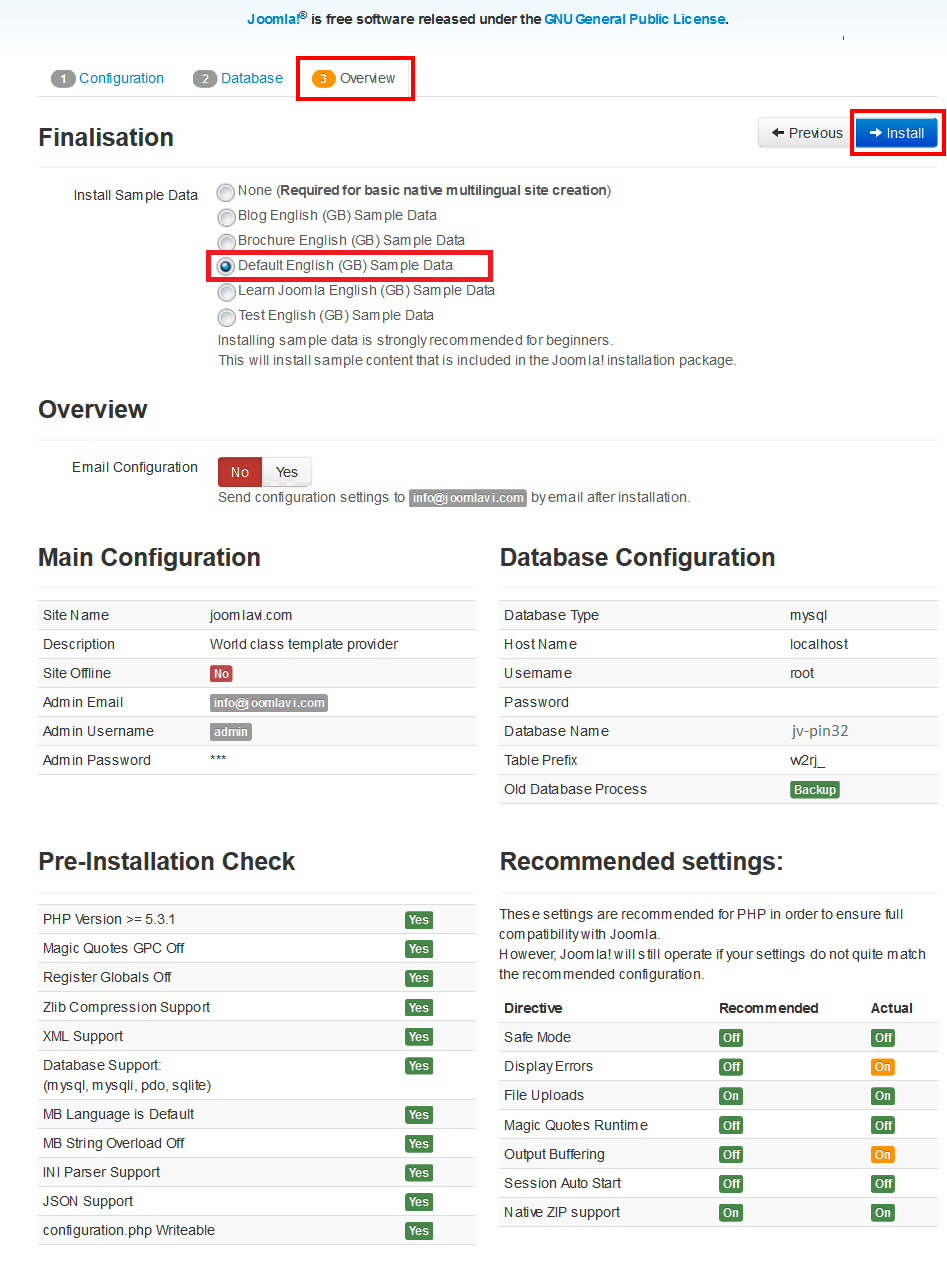
✔ OVERVIEW
Tick: Default English (GB) Sample Data to, Click Install to install Sample Data
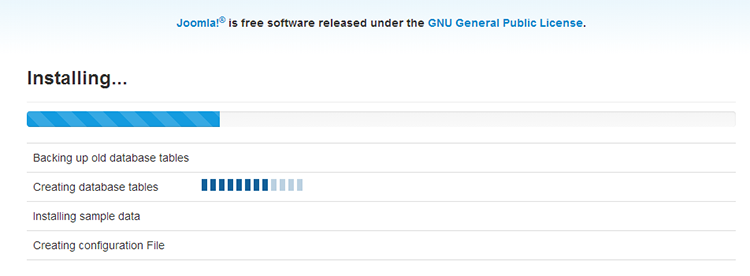
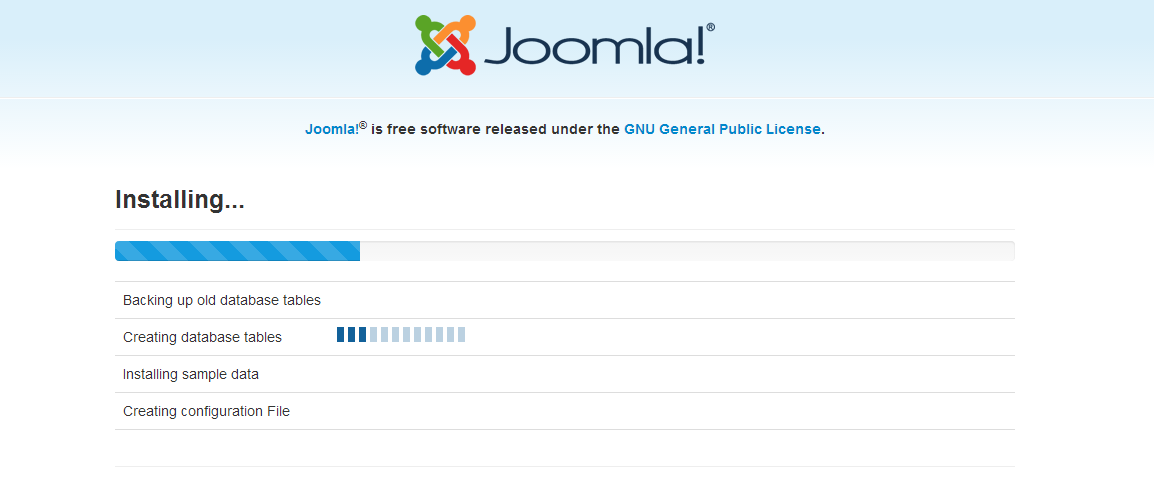
✔ INSTALLING
It may take a few minutes to install sample data
✔ FINISH
Click remove installation folder to delete installation folder
TROUBLESHOOTING
Here are some issues you may have during installation process. Check it out, may be helpful for you
1. Joomla! 3 installation hangs at "creating database tables"
This issue is a very common for those who try to install Joomla! locally using XAMPP and WAMP during Joomla! 3 installation process, it hangs forever at the “Creating database tables” step:
Take following steps to solve the problem:
- Go to wamp\www\your-joomla\installation\sql\mysql (if you are using Wampp) or Xampp\htdocs\Your joomla folder\installation\sql\mysql (for Xampp)
- Open Joomla.sql file find the term ENGINE=InnoDB and replace all with ENGINE=MyIsam
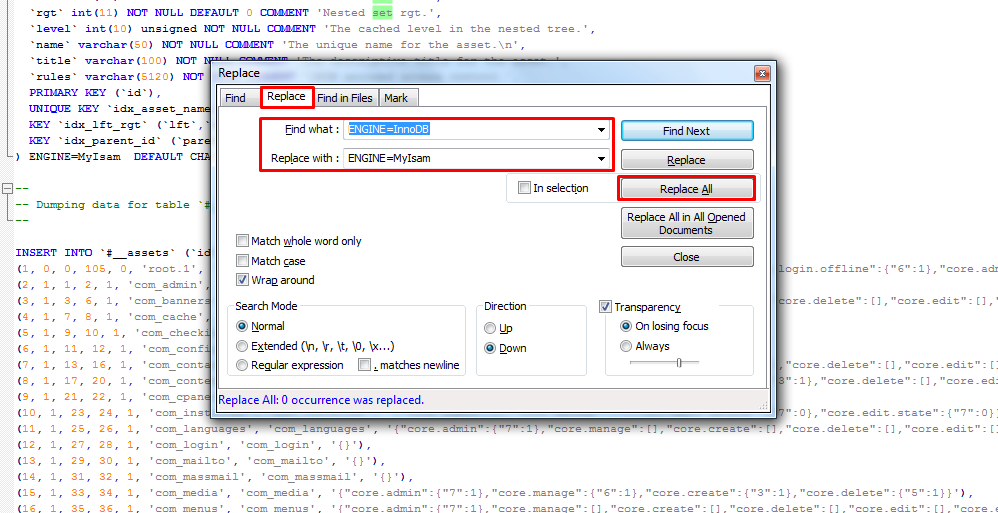
- Save the file and remake
- If the installation process continues hanging on step "installing sample data". You do the same with file sample_data.sql