Acquisition
To download JV Studio, you need to sign up and purchase a package for download privileges.
Visit JV Studio overview page to get a general understanding of the template.In the JV Studio’s page, you can find a set of buttons consists of the following:
Live Demo, Download, Documentation.
Clicking on ‘Live Demo’ would redirect you to a demo-site of JV Studio. This is also what your site will look like when using a Quick-start version of this template.
Clicking on ‘Documentation’ will link to view documentation.
Clicking on ‘Download’ will open the download page of JV Studio
There will be multiple files in the download page. Before selecting which file(s) to download, please consider what you are planning to do.
If you are setting up a new site, the Quick-Start version is the best choice, because it will install an entire new site with all featured extensions and styled to look like the template’s live demo.
If you have already had a site and don’t want to replace it, or you only want the template without extensions and styling, the Extension-pack/Theme version will be your choice. Installing a theme will give you only a new template/theme without any extra extension or data loss.
After you have confirm the file(s) you need, select them by ticking the box(es) in front of said file(s), then click download.
If the file you downloaded has ‘unzip_first’ in its name, please extract it before continuing with the installation.
Installation
The installation process of JV Studio differs according to the installer being used.
There are two version of JV Studio that can be downloaded: Quick-start and Template.
1. Installation with Quick-start version
Quick-start installer will create an entire new Joomla site with JV Studio, data and all the related extensions installed, essentially a replication of JV Studio’s demo site.
2. Installation on your Joomla
This installation process allows JV Studio to be installed on an existing site (instead of creating entire new site). However, this method will not install the related extensions, making it look different from the demo site.
To install a Template version of JV Studio, follow the following steps:
- Download JV Framework and the Template/Theme version of JV Studio
- Extract any file with ‘unzip_first’ in its name.
- Use Joomla’s default installer to install JV Framework like a normal extension.
- Open JV Framework (Component >> JV Framework) and switch to Theme manager tab.
- In Theme Manager, click on the ‘Install theme’ button, then select the Template/Theme and install it using the popup window.
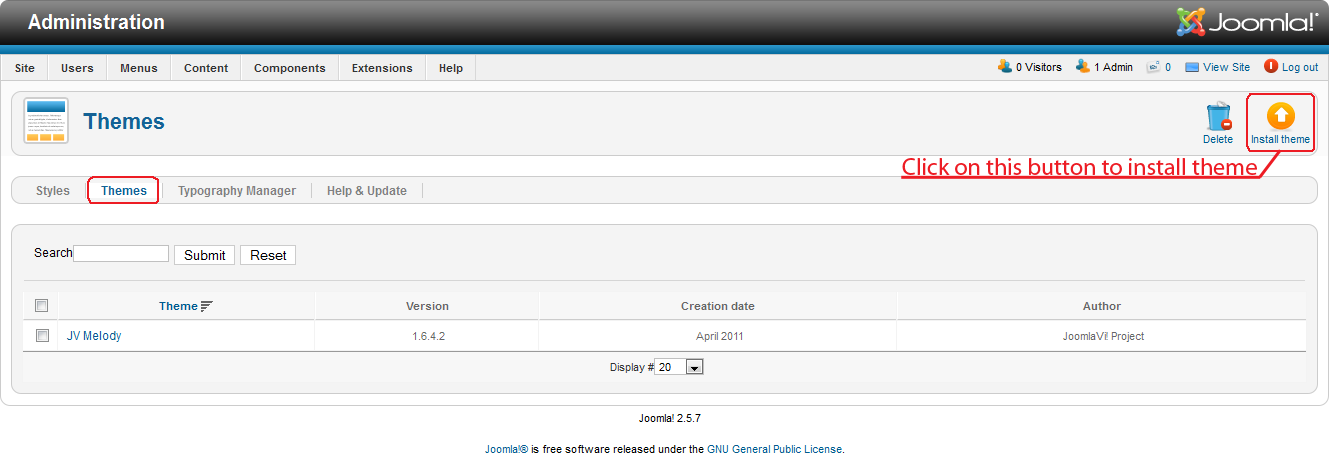
- Switch back to Style Manager tab and create a new style using JV Studio theme (remember to click the save button instead of enter).
- Set the new style as default or assign it to any page you see fit.
Managing JV Studio
Note: this guide does not cover all the parameters and features of JV Framework. For more details regarding our Framework, please refer to the corresponding documents.
The template JV Studio is managed by JV Framework, which divide it into two part: Style and Theme.
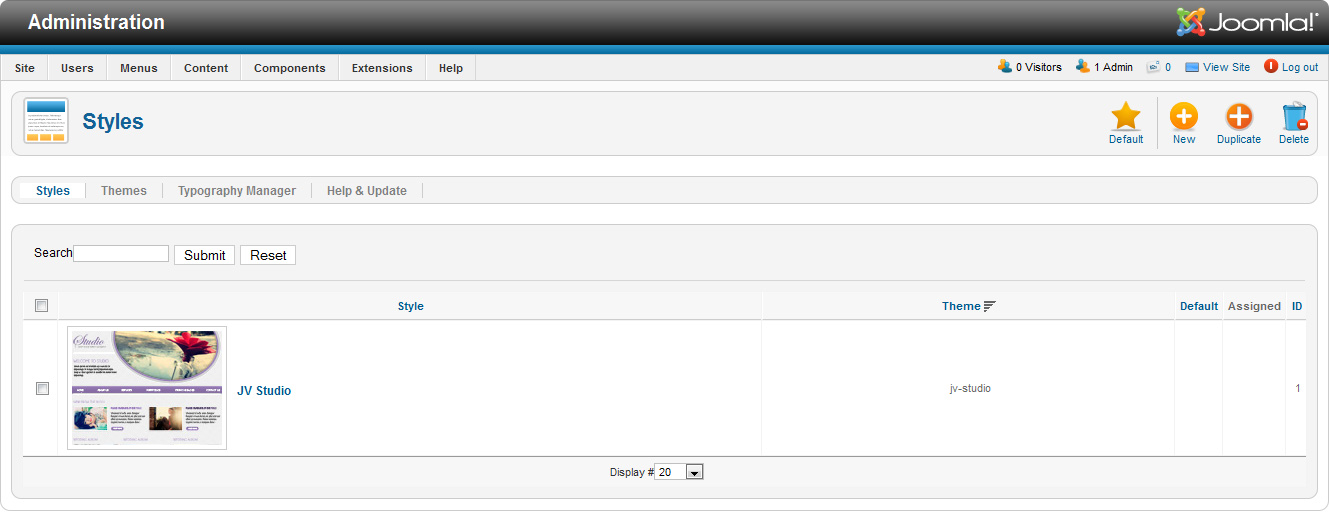
These are instances of the template which can be applied to entire site (default) or particular pages of your choice.
a. Creating or duplicating a style.
To create a new style:
- Click on the new button.
- In the popup window, select the theme (in this case, JV Studio), enter a title, then click save.
To duplicate an existing style:
- Select the style by checking the checkbox in front of it.
- Click on the duplicate button.
b. Editing a style.
To edit a style, you simply have to click on either the style’s title or its thumbnail.
The user will be directed to the Edit style page.
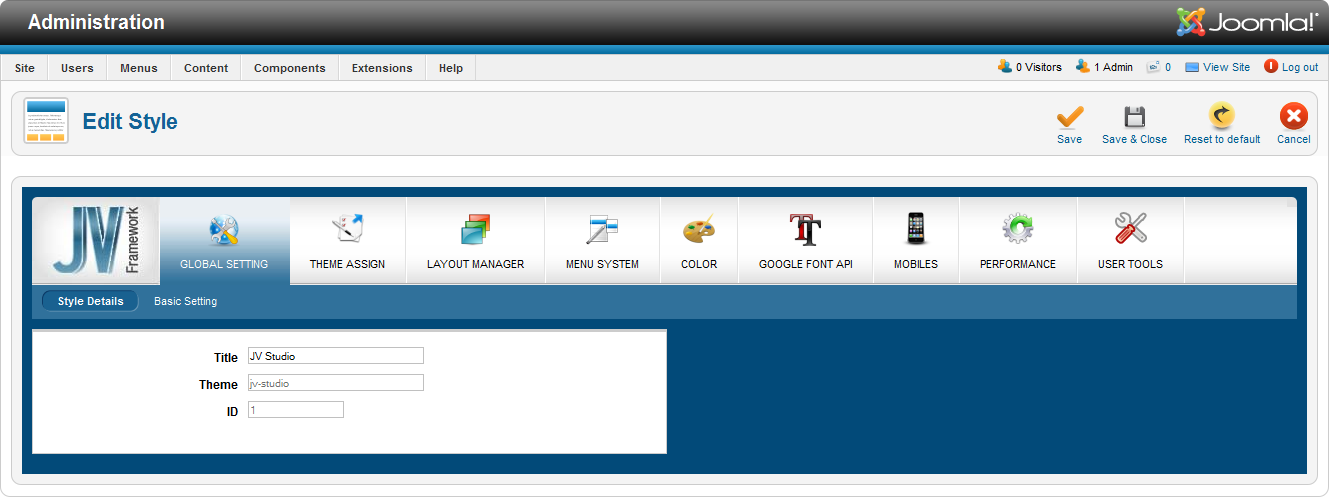
The tabs found in this page are:
Global Setting
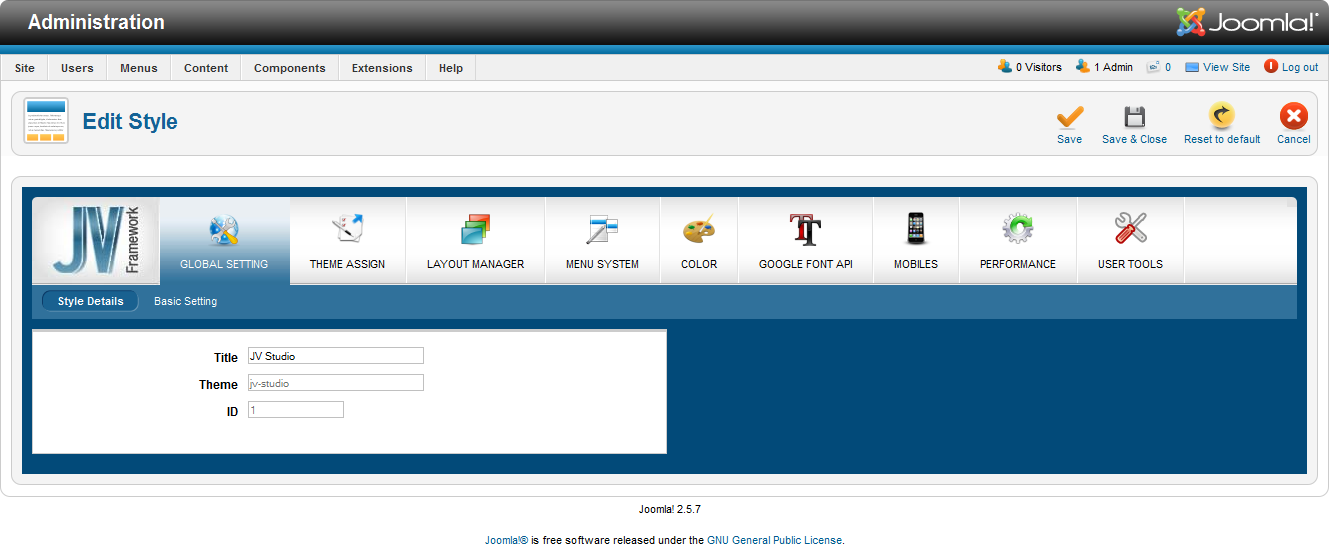
- Style detail: The info of this style (title, id, theme)
- Basic setting: This is where you can setup various basic parameter for the style (Logo, Layout Type, Direction, Footer)
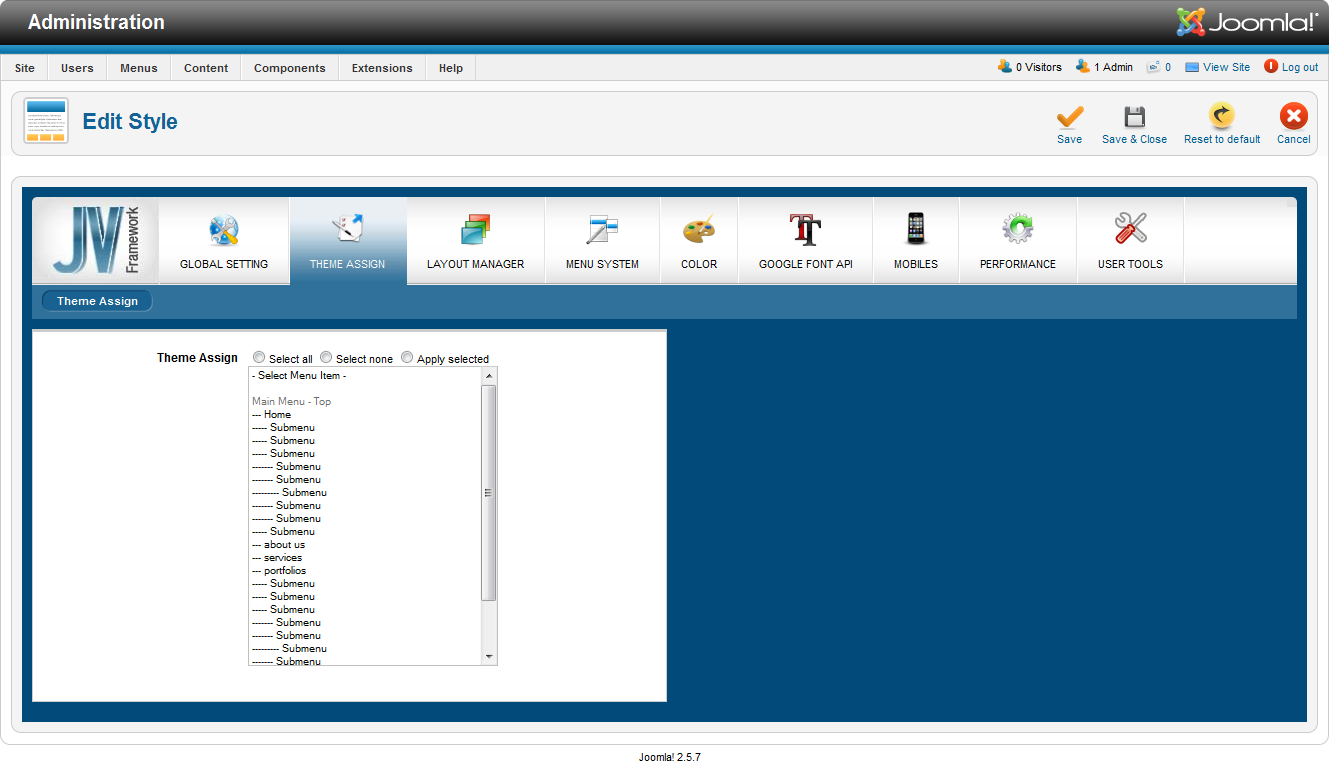
Theme Assign: For styles that weren’t set as default, you can assign it to the pages you want, overriding default version.
Layout manager

- Layout type: this is where you can select the general layout for this style (For example: left-main, left-rigth-main, right-main, right-main-left, etc).
- Layout Manager: this is where you manage the style’s layout using a drag& drop system.
Menu System
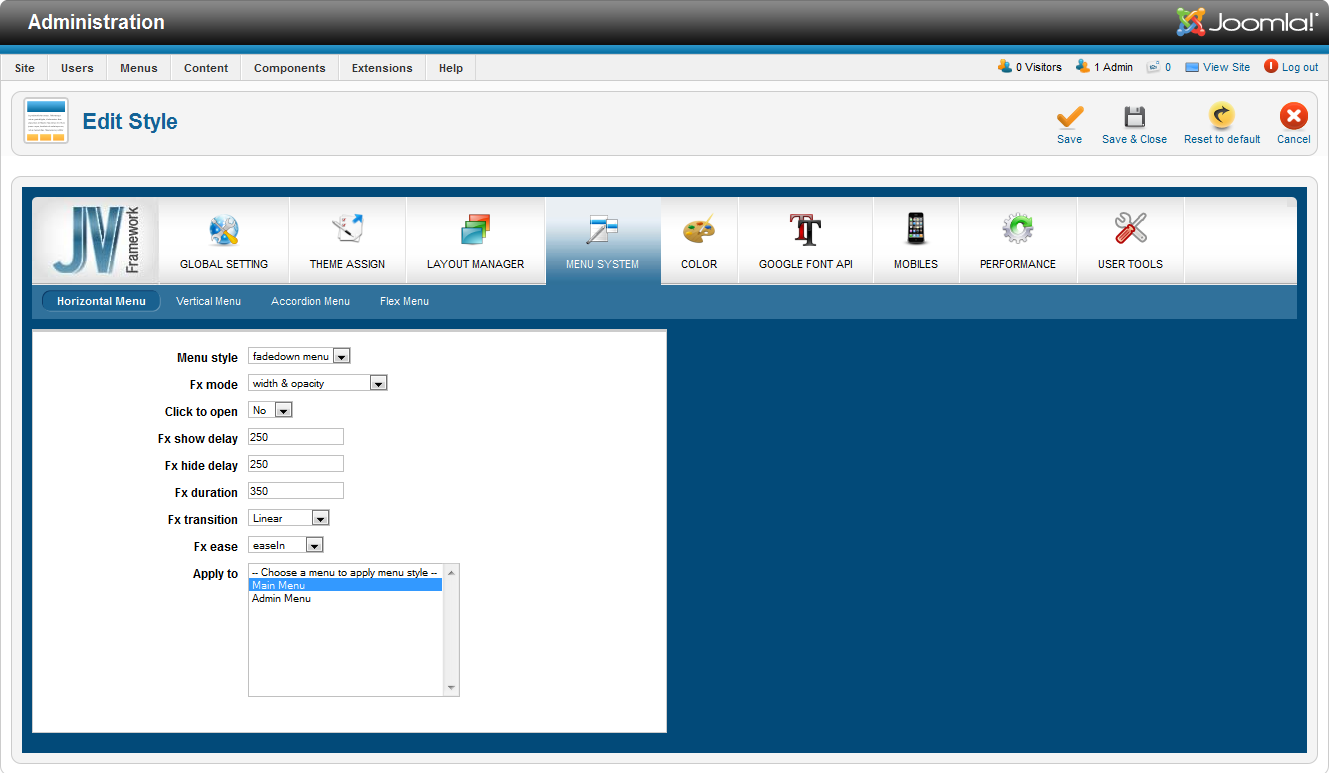
- Horizontal menu: this is where you configure and designate the horizontal menus
- Vertical menu: this is where you configure and designate the vertical menus.
- Accordion menu: this is where you configure and designate the accordion menus.
- Flex menu: this is where you configure and designate the flex menus.
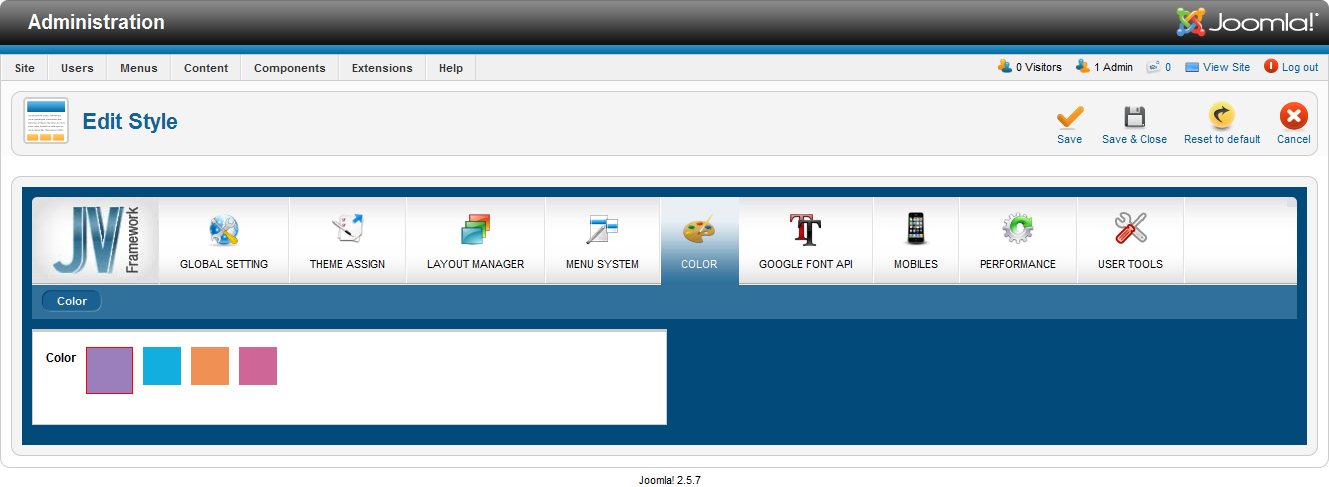
Color: This is where you can switch between the color schemes of JV Studio
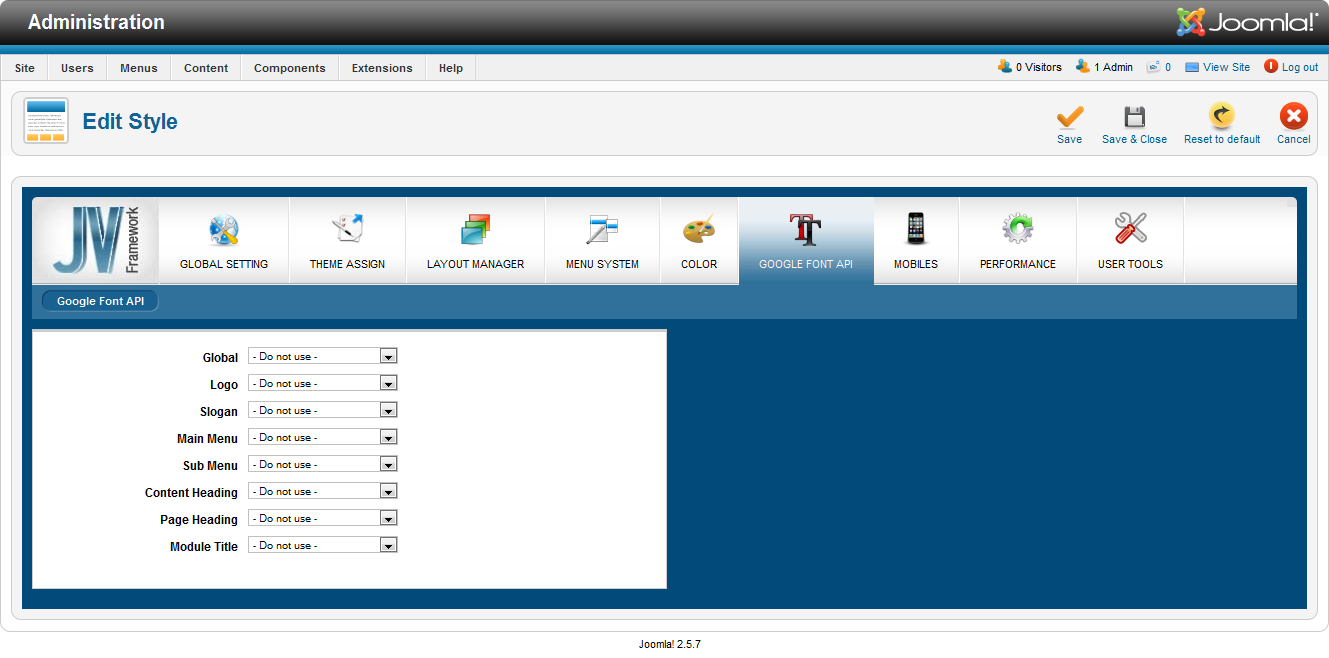
Google Font API: This is where you configure the fonts using Google Font API.
Mobile: This is where you can setup the mobile layout of JV Studio
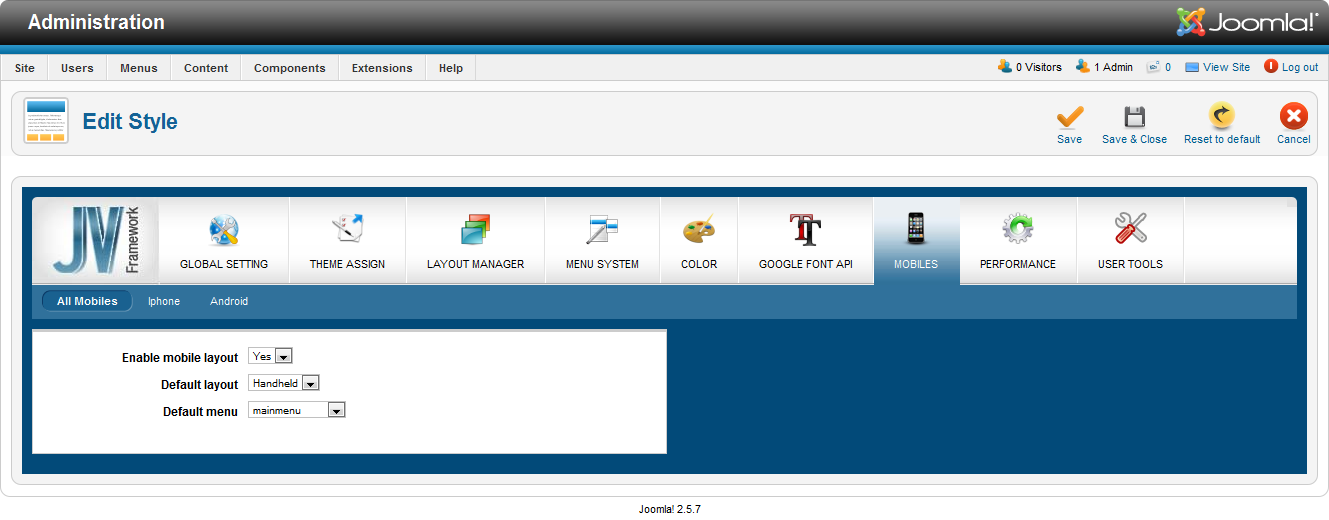
- All Mobile: This configuration will be applied to all mobile devices.
- I-phone: This configuration will be applied to I-phone mobile devices.
- Android: This configuration will be applied to mobile devices using Android.
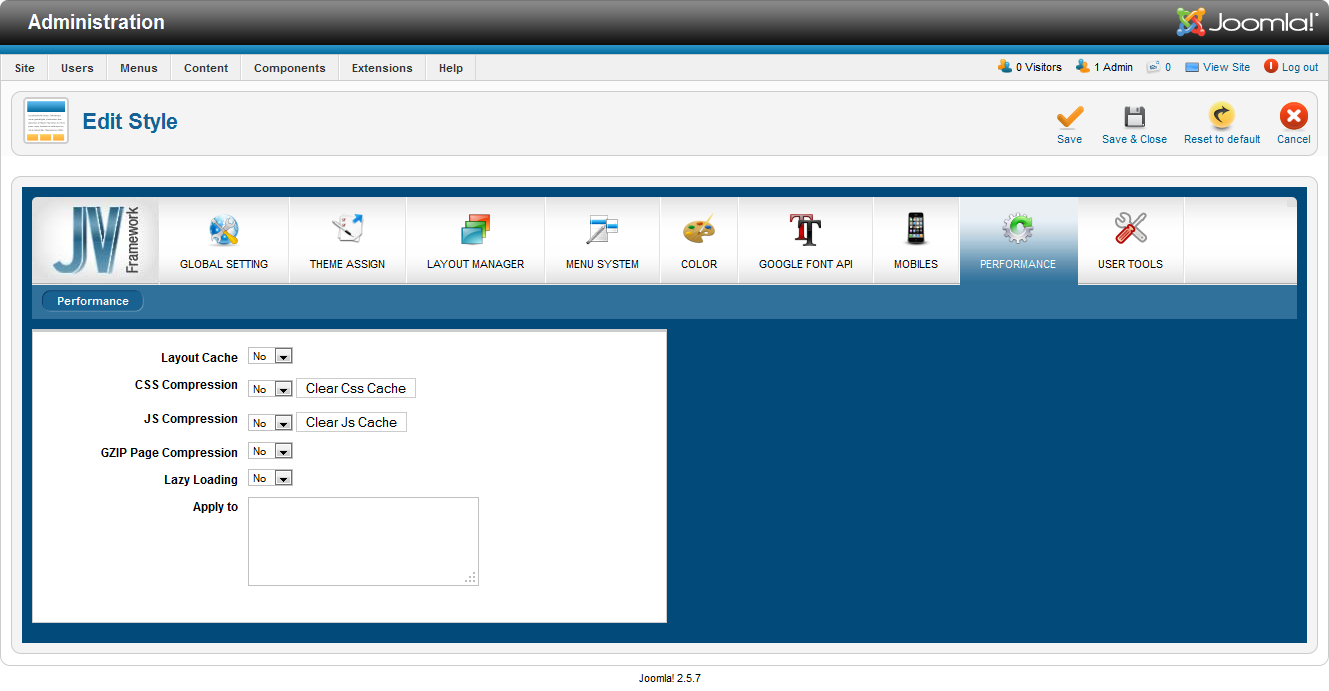
Performance: This tab contains options to improve the loading speed of the pages/site this style is applied to.
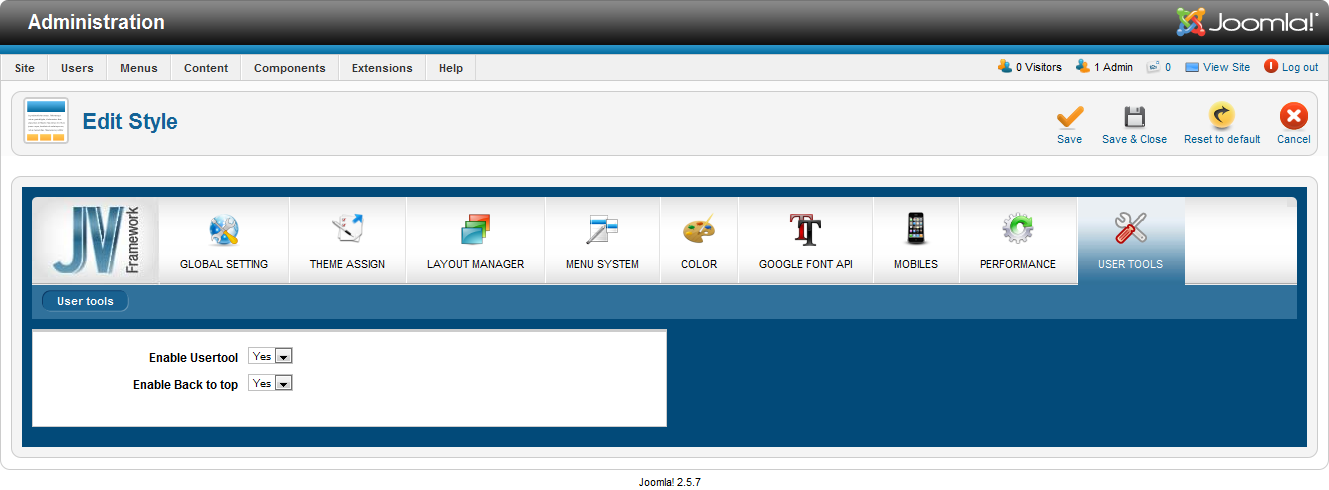
User Tool: This tab is where you can enable/disable Usertool and Back-to-top on front-end.
1. Theme
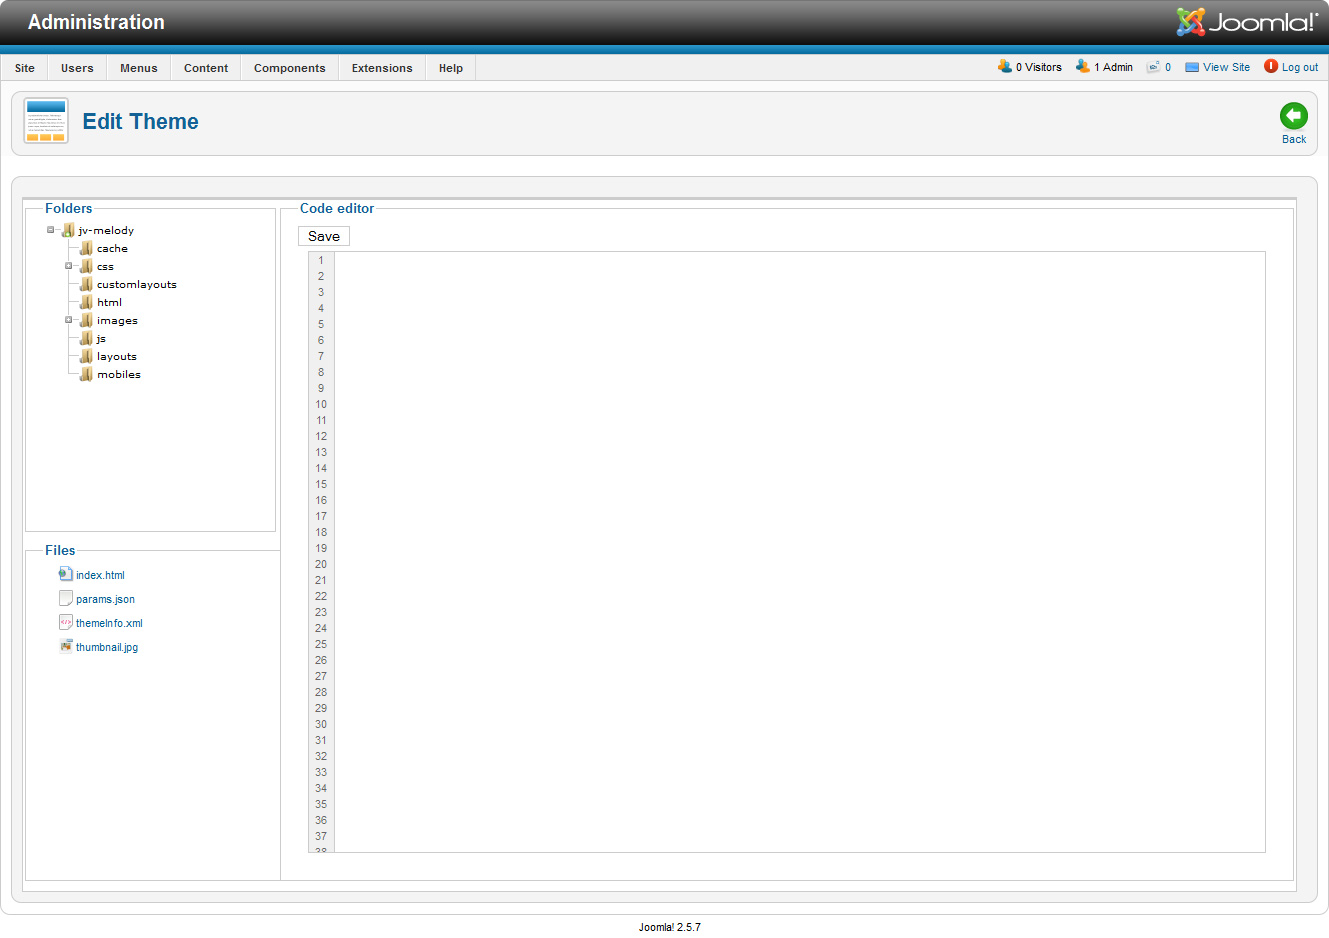
By using theme manager, the user can easily edit the file of the template JV Studio.
To open the theme edit page, simply click on the theme’s name (JV Studio)
12 Layout
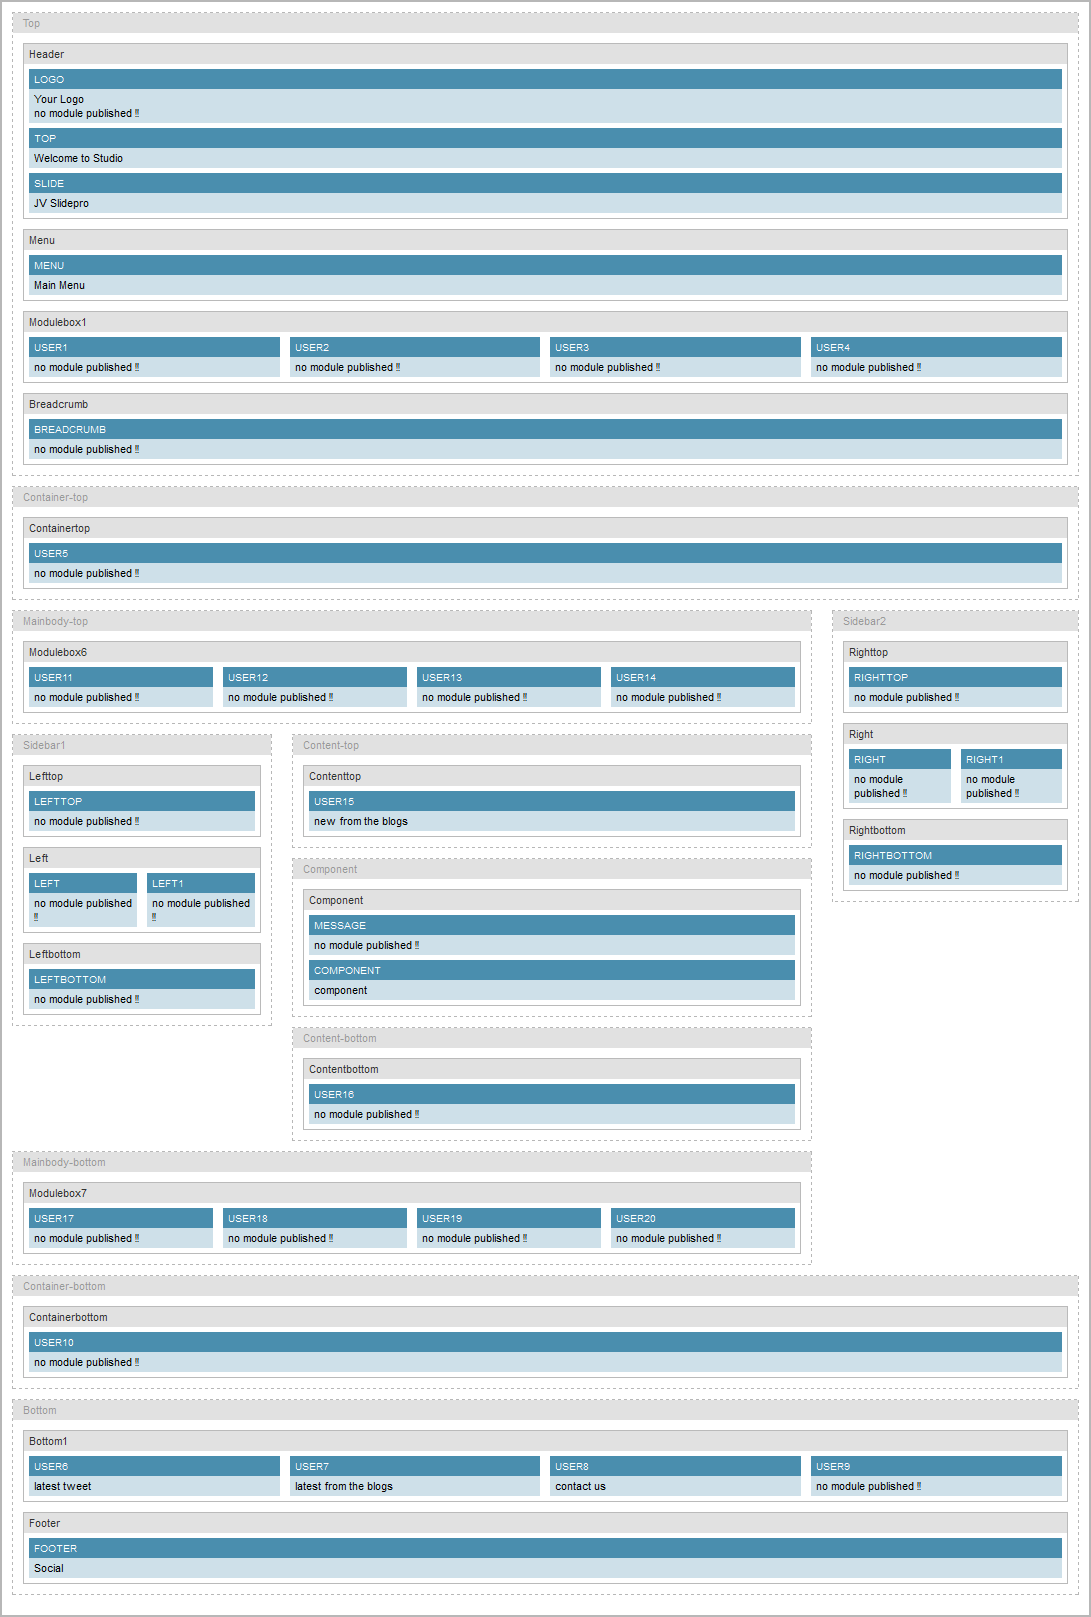
One of the main differences between the theme managed by jv framework is the position layout.
You can check and edit this layout through style-edit’s layout manager.
The layout of JV Studio in layout manager:
Extensions
1. JV Slider pro
a. Introduction:
JV Slide Pro is a Joomla photo slide module developed by team Joomlavi. It incorporates several display modes from other Slide-type modules.
b. Where to find:
JV Slide Pro is currently an exclusive extension for templates, thus you won’t be able to find it on our extension page. It will be included in the extension package for JV Studio though.
c. Setting up JV Slide Pro:
This part will show how JV Slide Pro module was setup in the quickstart version, so that those who weren’t quick-start user can make their site as close to the demo as possible.
To set up JV Slide Pro:
- Create a folder (<images/demo/slideshow> in the quick-start version) and upload the images you need to it
- Create a module using module type JV Slide Pro and name it “JV Slidepro”.
- Assign the module to position ‘slide’ on all pages.
- In the ‘Get source from’ accordion:
Select “From list” in the dropdown menu
Add the images you need and their description
- In the ‘Slide config’ accordion:
Select “Nivo slider”
Set “Fix height” to 340
Set “Caption opacity” to 1
Set any parameter with an on/off switch to off.
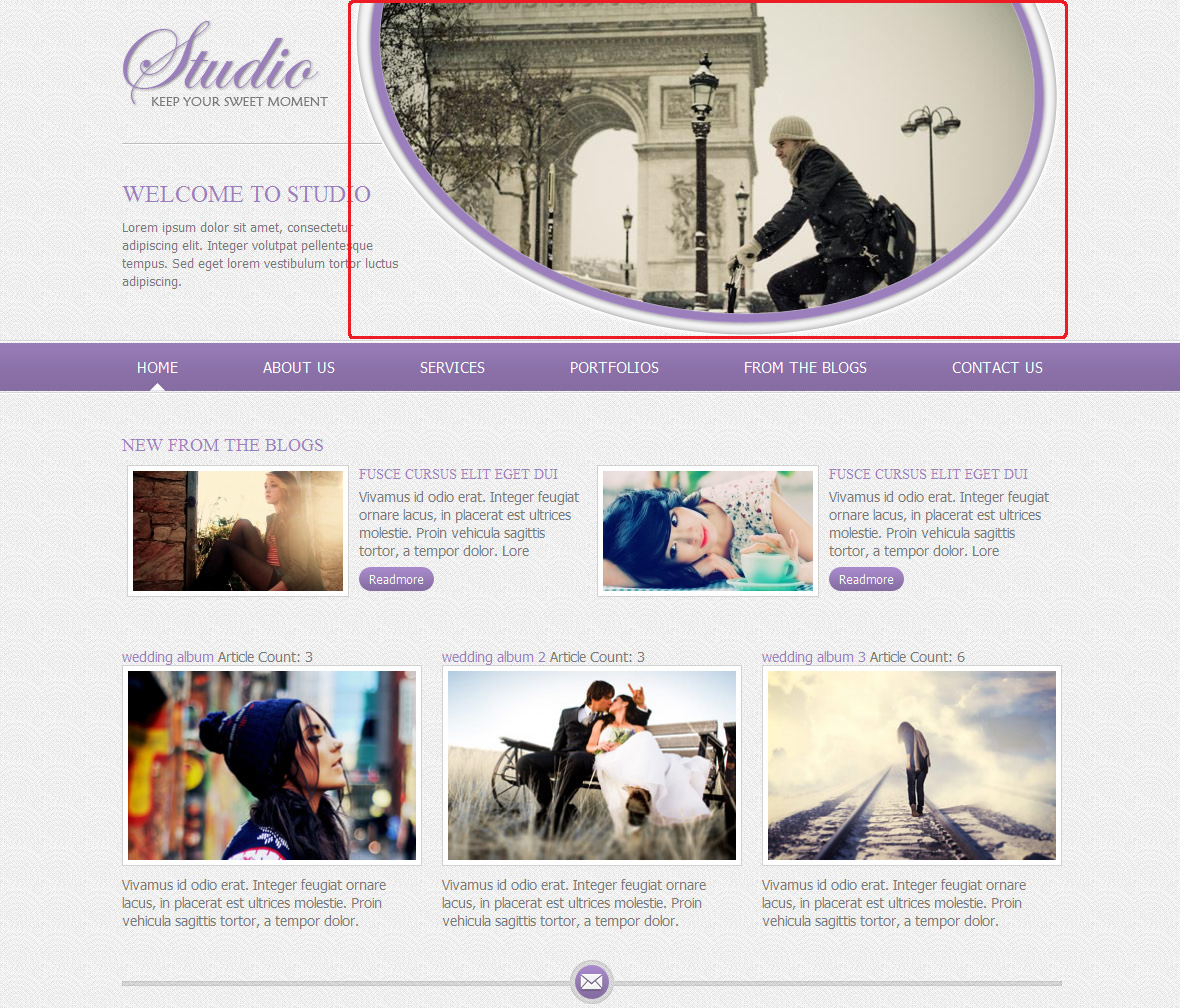
On front-end:
2. JV contact
a. Introduction:
A joomla contact module developed by team Joomlavi. Beside normal contact messages, it also features functions like social buttons and google map. In the case of this template, JV Contact is used for both the contact form and google map.
b. Where to find:
JV Contact can be found either from JV Studio’s extension package, or you can visit JV Contact overview to download
c. Setting up JV Contact:
This part will show how JV Contact module was setup in the quickstart version, so that those who weren’t quick-start user can make their site as close to the demo as possible.
To set up JV Contact:
- Create a new module using module type JV Contact, or make use of the module that was created upon installation
- Assign the module to position ‘contact’ on “all” pages
- In the “Basic Options”, enter your contact address in “Header text”
- In the ‘Form & Fields’ tab:
Enable ‘Show Form’
Add the custom fields: “Name”, “Email”, “Subject” and “Message” with matching titles.
- In the Google Map tab:
Select ‘yes’ for the parameter ‘Show Google Map’.
Enter the API Key and the Latitude/Longitude for your mark.
Set “Map height” to 330 px.
- Create an article named “Contact us” containing the html code: <div></div>
- Link the menu item “Contact us” (single article type) to the article of the same name.
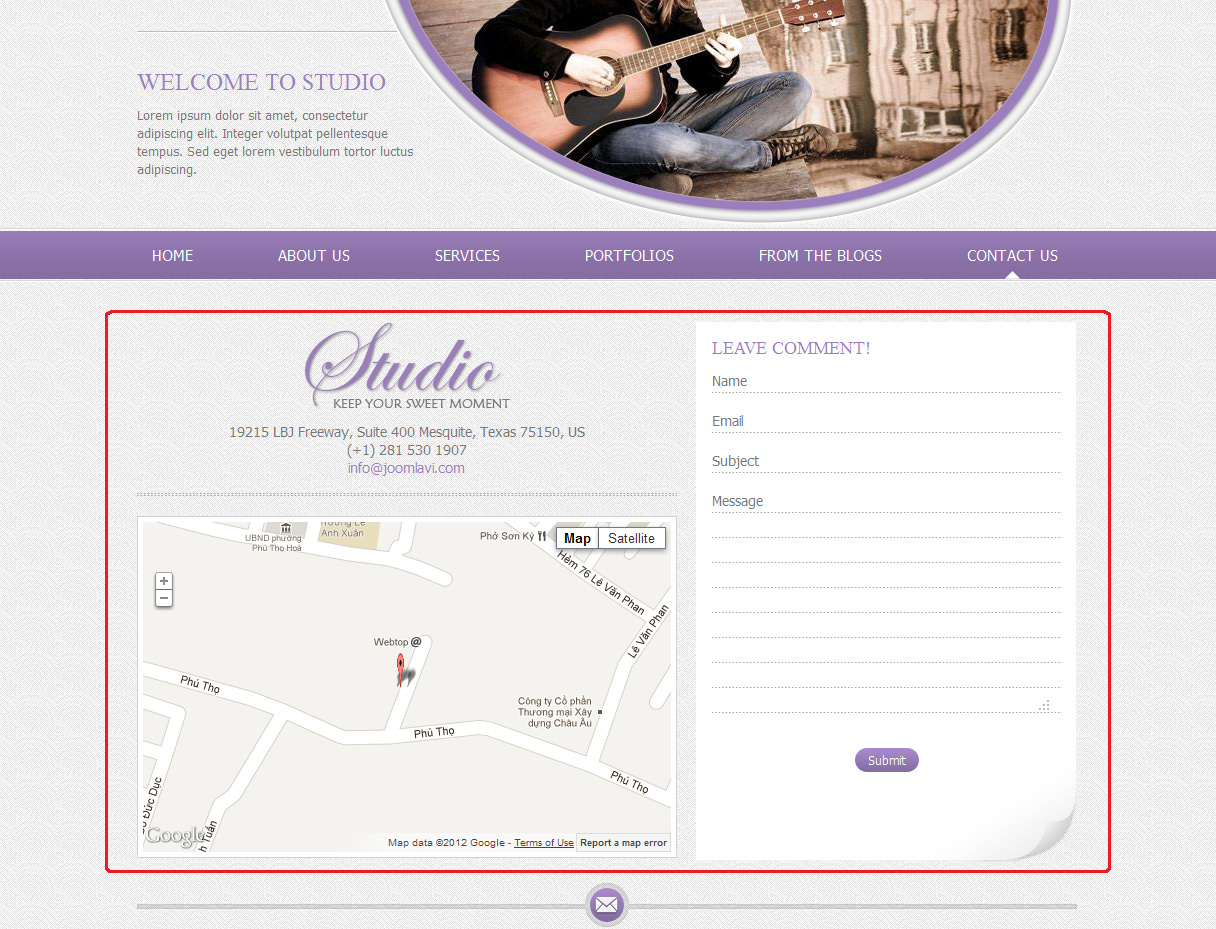
Front-end:
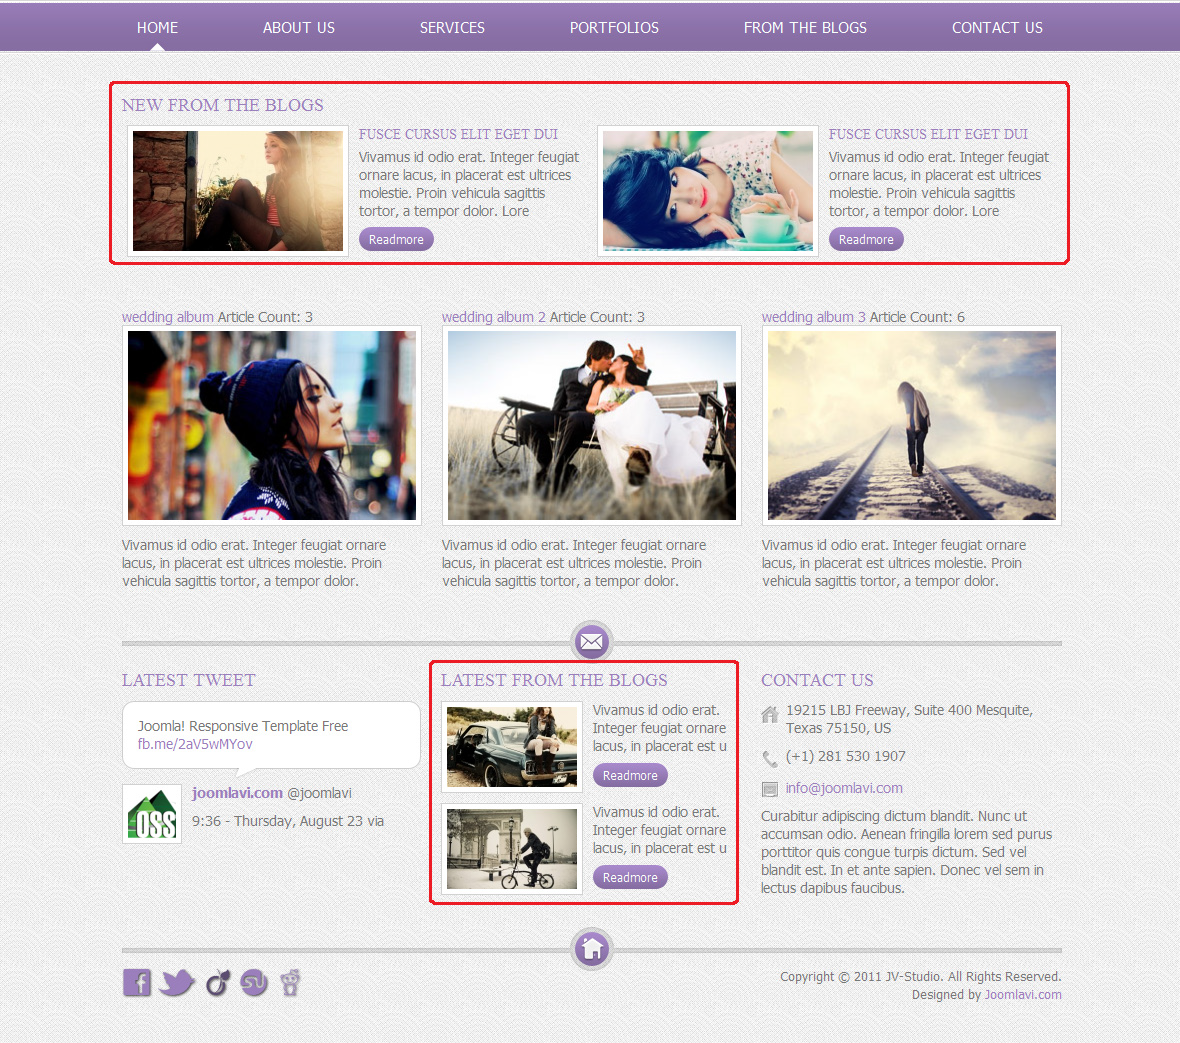
3. JV News
Please take a look at JV News to know more about this module
Backend-settings
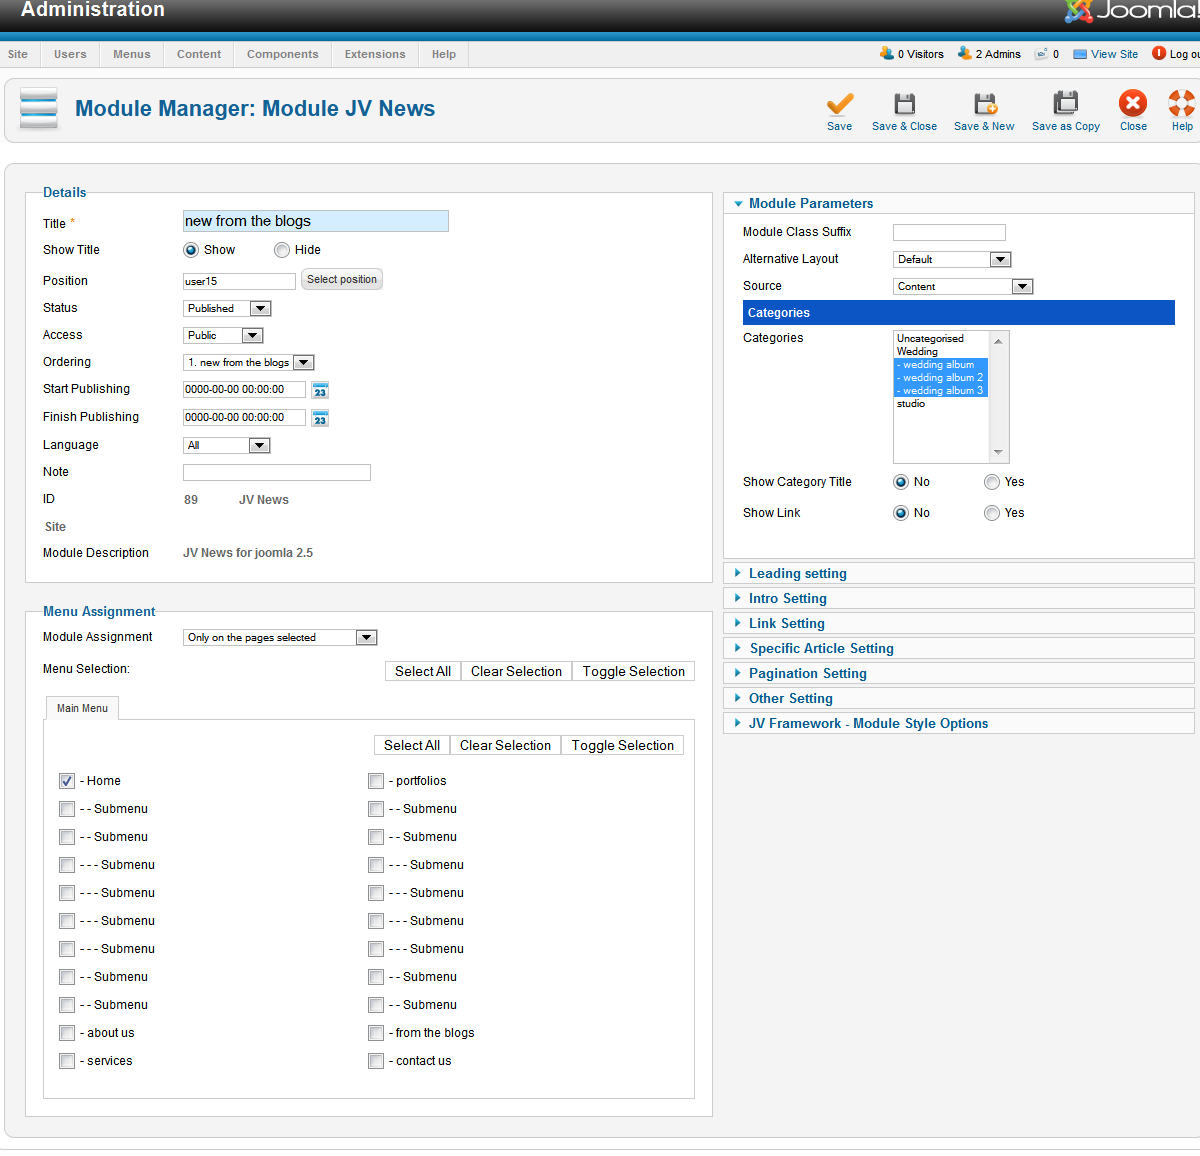
Result on front-end:
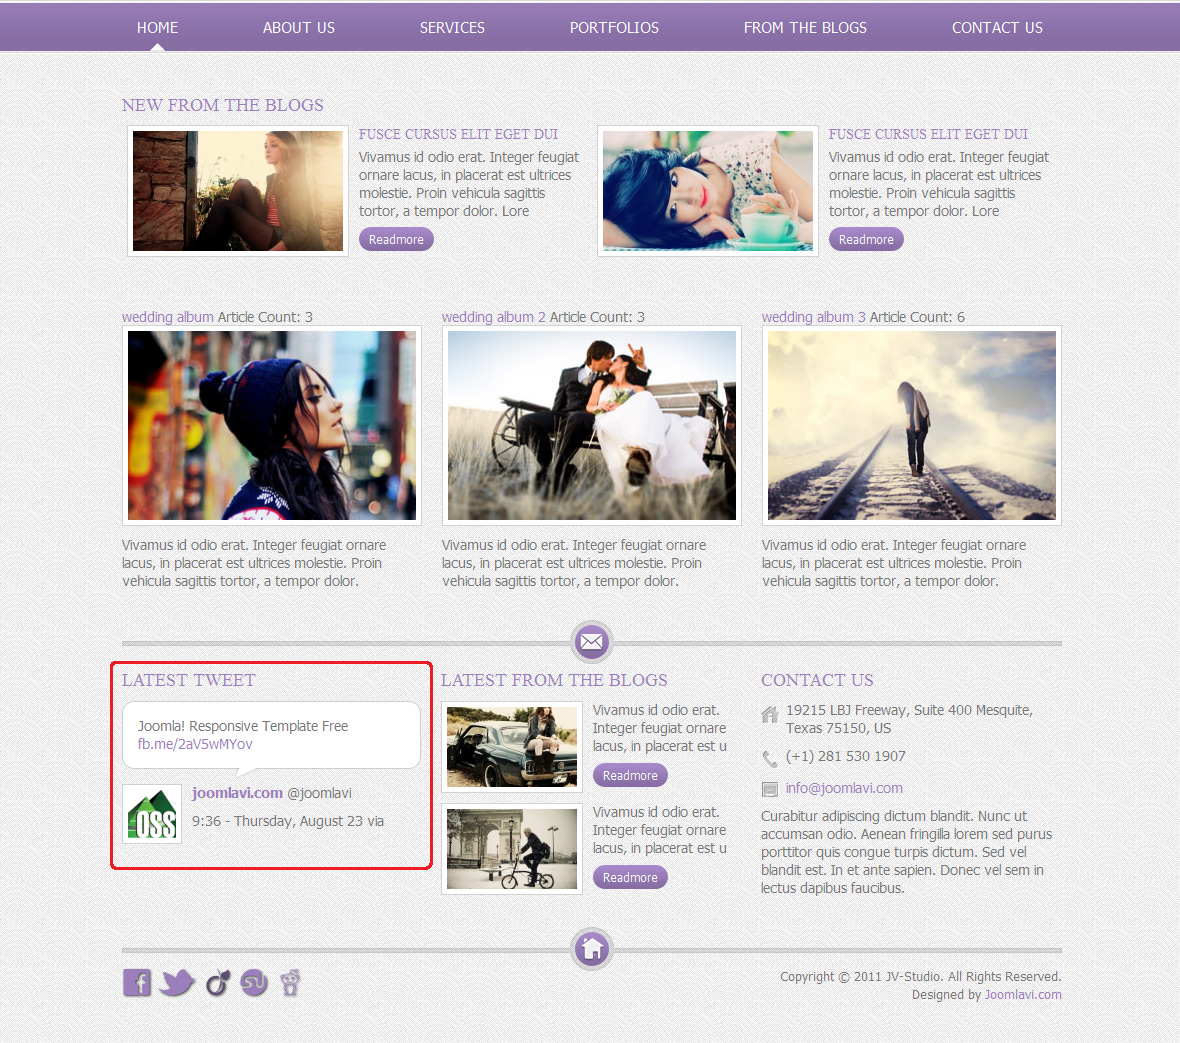
4. JV Twitter
a. Introduction
JV Twitter is a simple module that can display newest tweets from the twitter account set in back-end.
b. Where to find
JV Twitter can be found either from JV Studio’s extension package, or JV Twitter Overview Page
c. Setting up JV Twitter
- In the back-end, create a module using module type “JV Twitter”, or you can make use of the default module created upon installation.
- Rename the module “latest tweet” and assign it to position ‘user6’ on all pages.
- In “Basic Options”, enter your Twitter account and set “Twitter profile” to ‘Show’
- In “Tweets Options”, set “Number of Tweets” to 1, and “Via” to ‘Hide’
On Front-end:
5. JV Gallery
a. Introduction
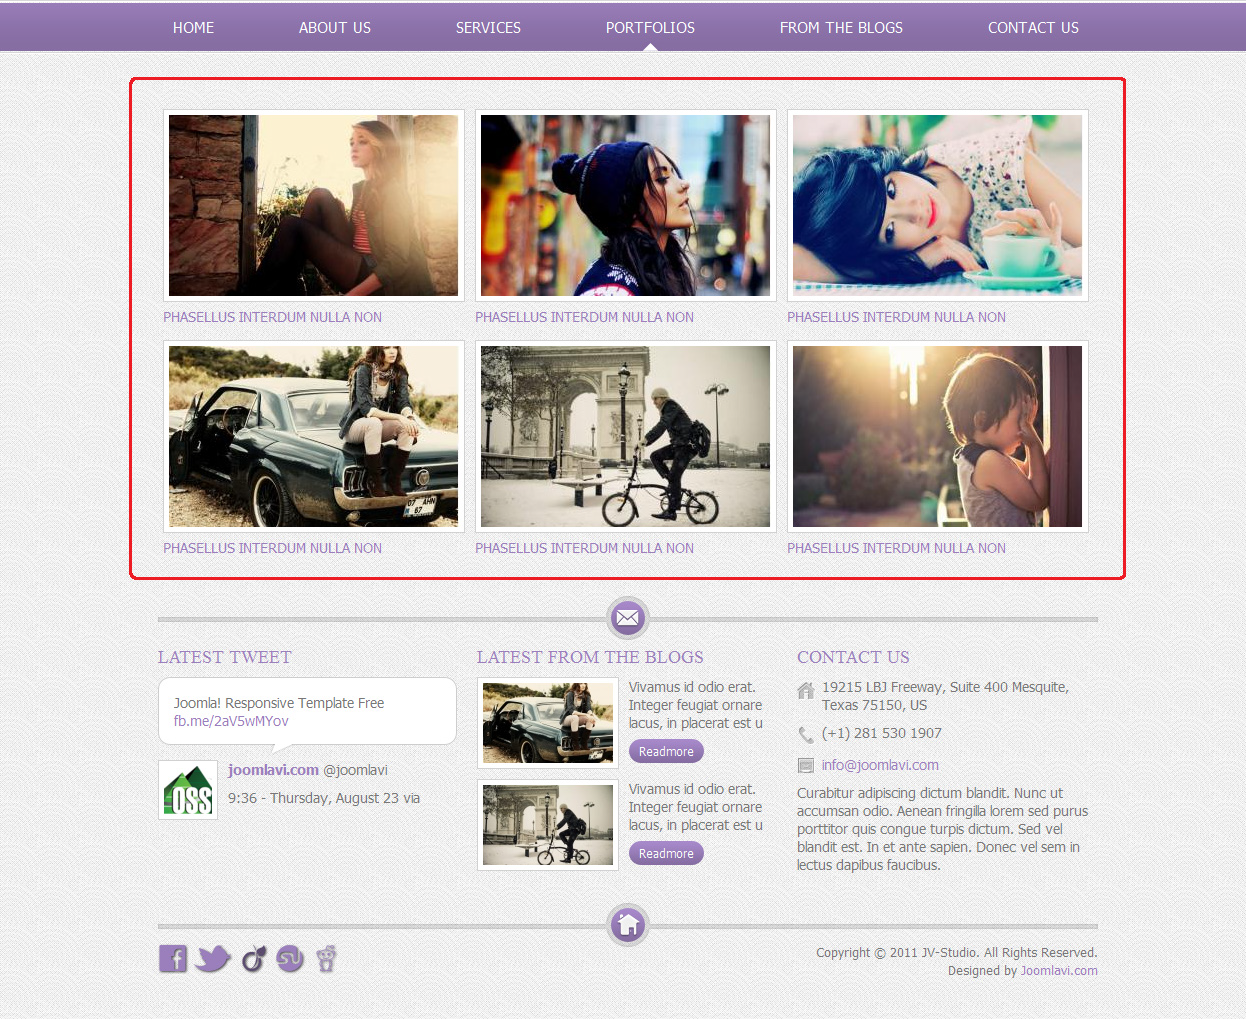
JV Gallery is a plug-in developed by team Joomlavi, which allows the user to create image galleries inside article content.
b. Where to find
JV Gallery can be found in JV Studio’s extensions package or you can download in JV Gallery overview page
c. Setting up JV Gallery
- Install and enable both plug-ins of JV Gallery
- Create a folder in the root/images directory (<images/gallery> on the demo site) and upload the image you want to use for the gallery to that folder.
- Create an article named “Portfolio”
- Click on the “Insert Gallery” button.
- In the light box, select the folder from the dropdown menu.
- In the Title And Description text field, enter the desired title/description for the images.
- Set “Number of Columns” to 3, “Thumbnail Width” to 290, “Thumbnail Height” to 181
- Click insert to generate the gallery’s code.
- Create a “Single article” type menu item called “Portfolios” in Main menu, then link it to the article “Portfolio”.
On front end:
6. JComment
a. Introduction
JComment is a Joomla extension developed by JoomlaTune that allows users to comment on an article.
b. Where to find
You can get JComment from JoomlaTune site via the url: https://www.joomlatune.com/jcomments.html
c. Setting up JComment
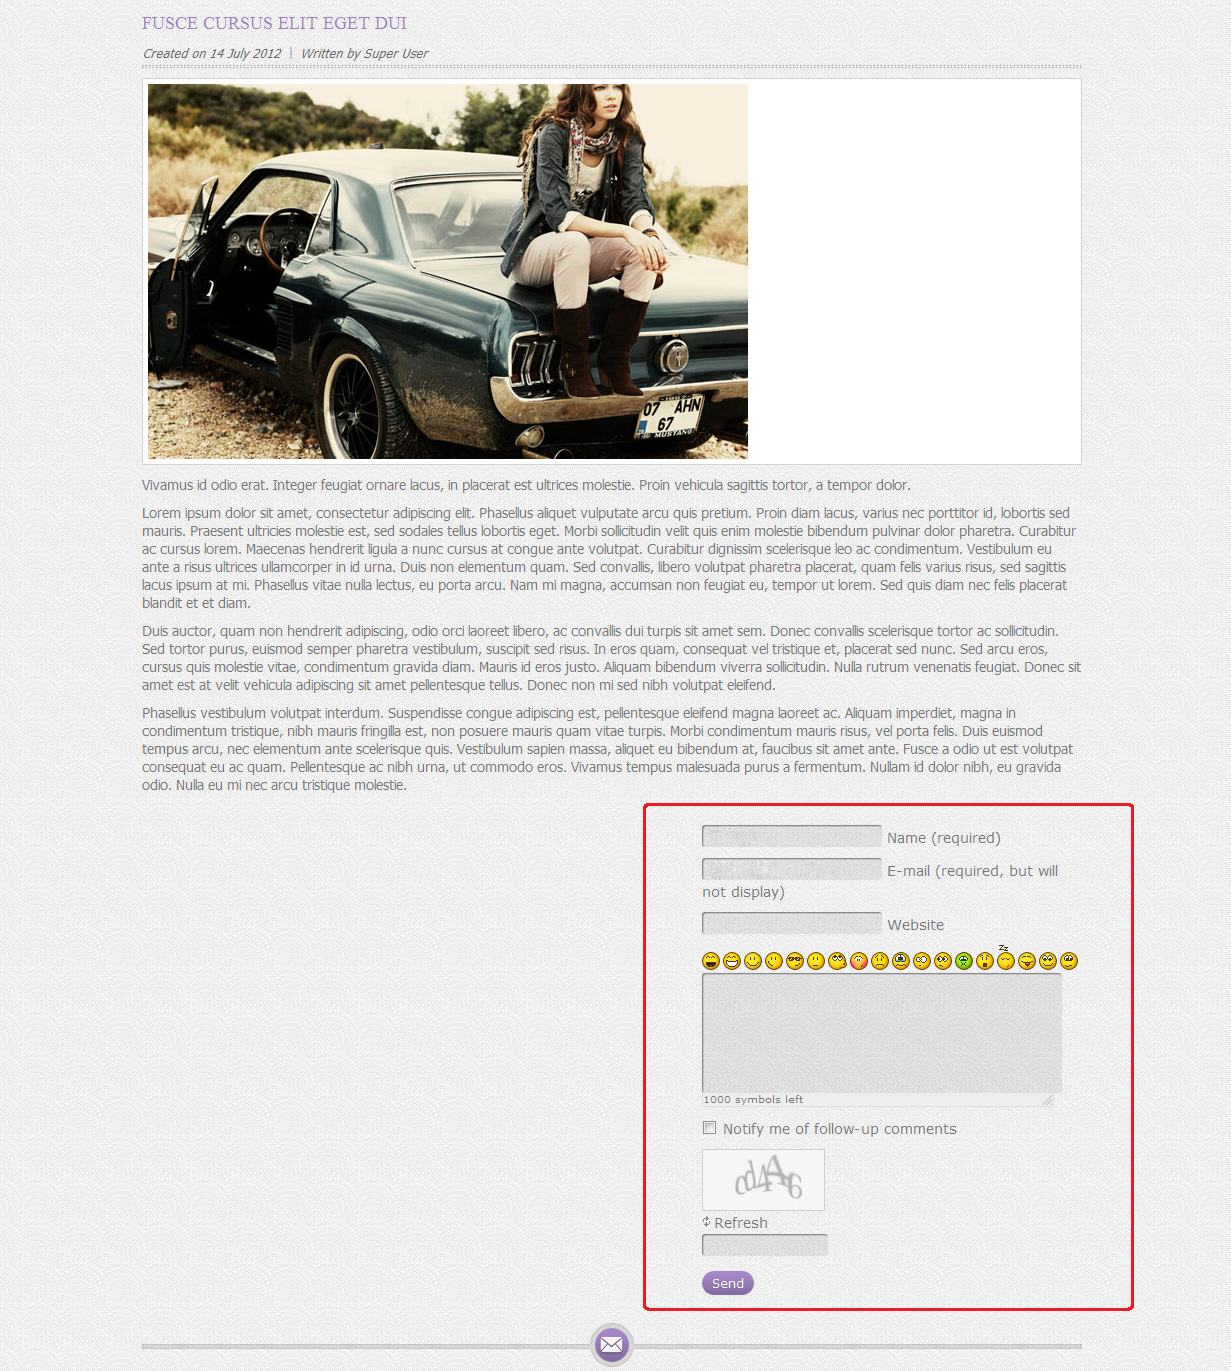
As JComment is not our extension, please refer to Joomlatune for instruction on how to use/configure it. In this guide, we will only show how to enable comment for the articles:
- Open JComment (Component menu >> Jcomment)
- Go to general setting (Setting tab >> General)
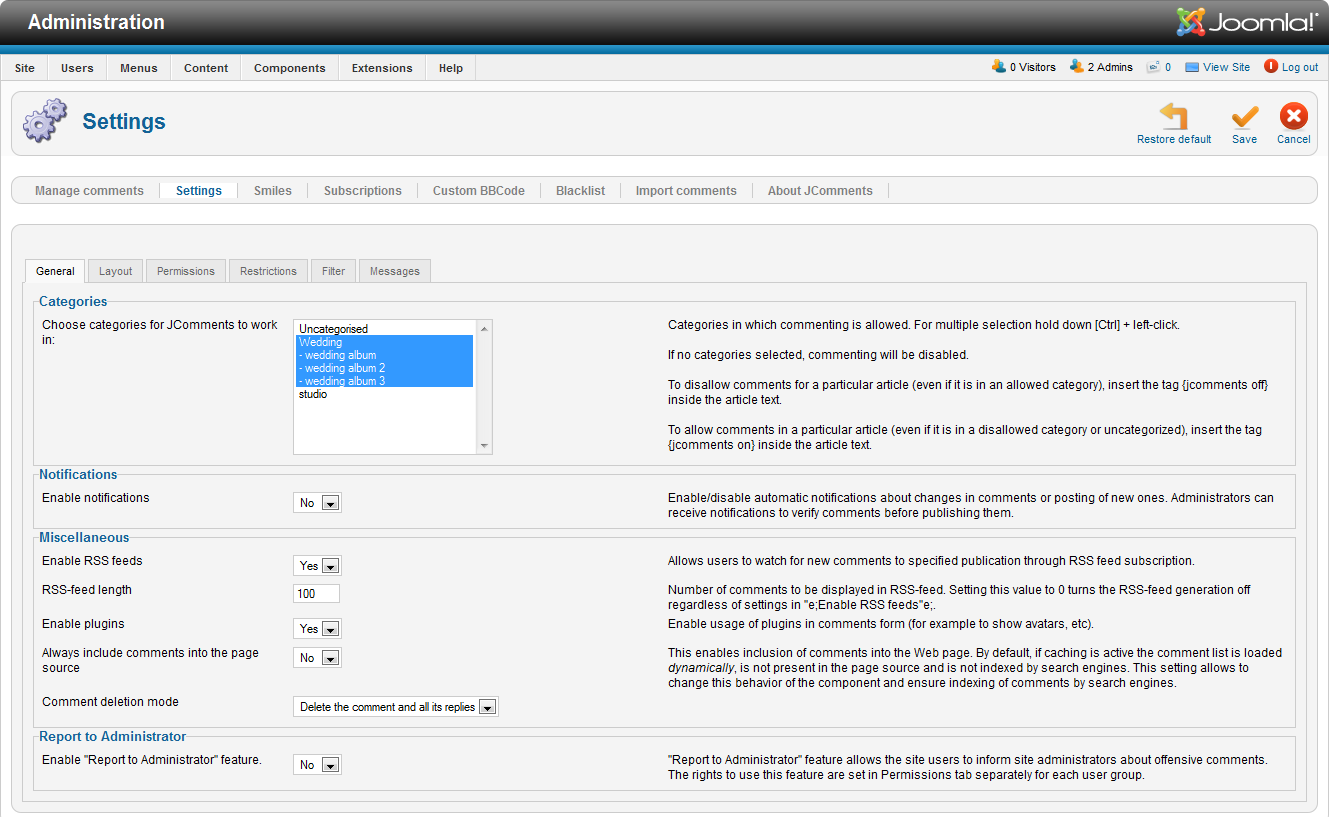
- In “Categories”, select Wedding and all sub categories.
- Save Setting.
On front-end:
